
Over the course of the past 12 years, we have remodeled every room in our 1918 house, with the exception of our front bedroom, currently used as the master bedroom.
Two of the rooms have been remodeled twice…one of them being the bathroom. The before pics from the first remodel…well, they pre-dated us owning a digital camera. But the bathroom was in dire need of a quick remodel. The tile in the tub was falling off the walls (we had to do a quick repair just to fulfill lender/inspector wishes when we bought the house), the sink was cracked, the sink base cabinet was made from plastic and had a hole in one door, and the linoleum was peeling up from the floor along the tub and smelled awful! Problem was, we had just bought the house and the payments were about all we could manage.
I was desperate. The “poop brown” linoleum was so smelly and gross, I could hardly stand to touch it or clean it. So I figured out a way that we could do a remodel for less than $300. We reused a vanity and bathroom fan Daddy had available from work, bought cheap paint and a second hand sink, and purchased remnants (cheaper!) of linoleum and laminate countertop material. So, remodel it we did…quick and never quite finished. Of course, the usual unexpecteds came up, like a rotten subfloor and very under-supported floor structure. But we got everything pretty much fixed up, with all the second hand and ‘use what is available and cheap’ items.
Fast forward somewhere around 8 years I think…. our quick remodel was starting to look outdated already and a few problems needed to be remedied again. This time, we needed to do the down to the studs remodel that we had done around the rest of the house. And we needed some real flooring! You know that linoleum scrap we had bought?? Never made it onto the floor ;)…
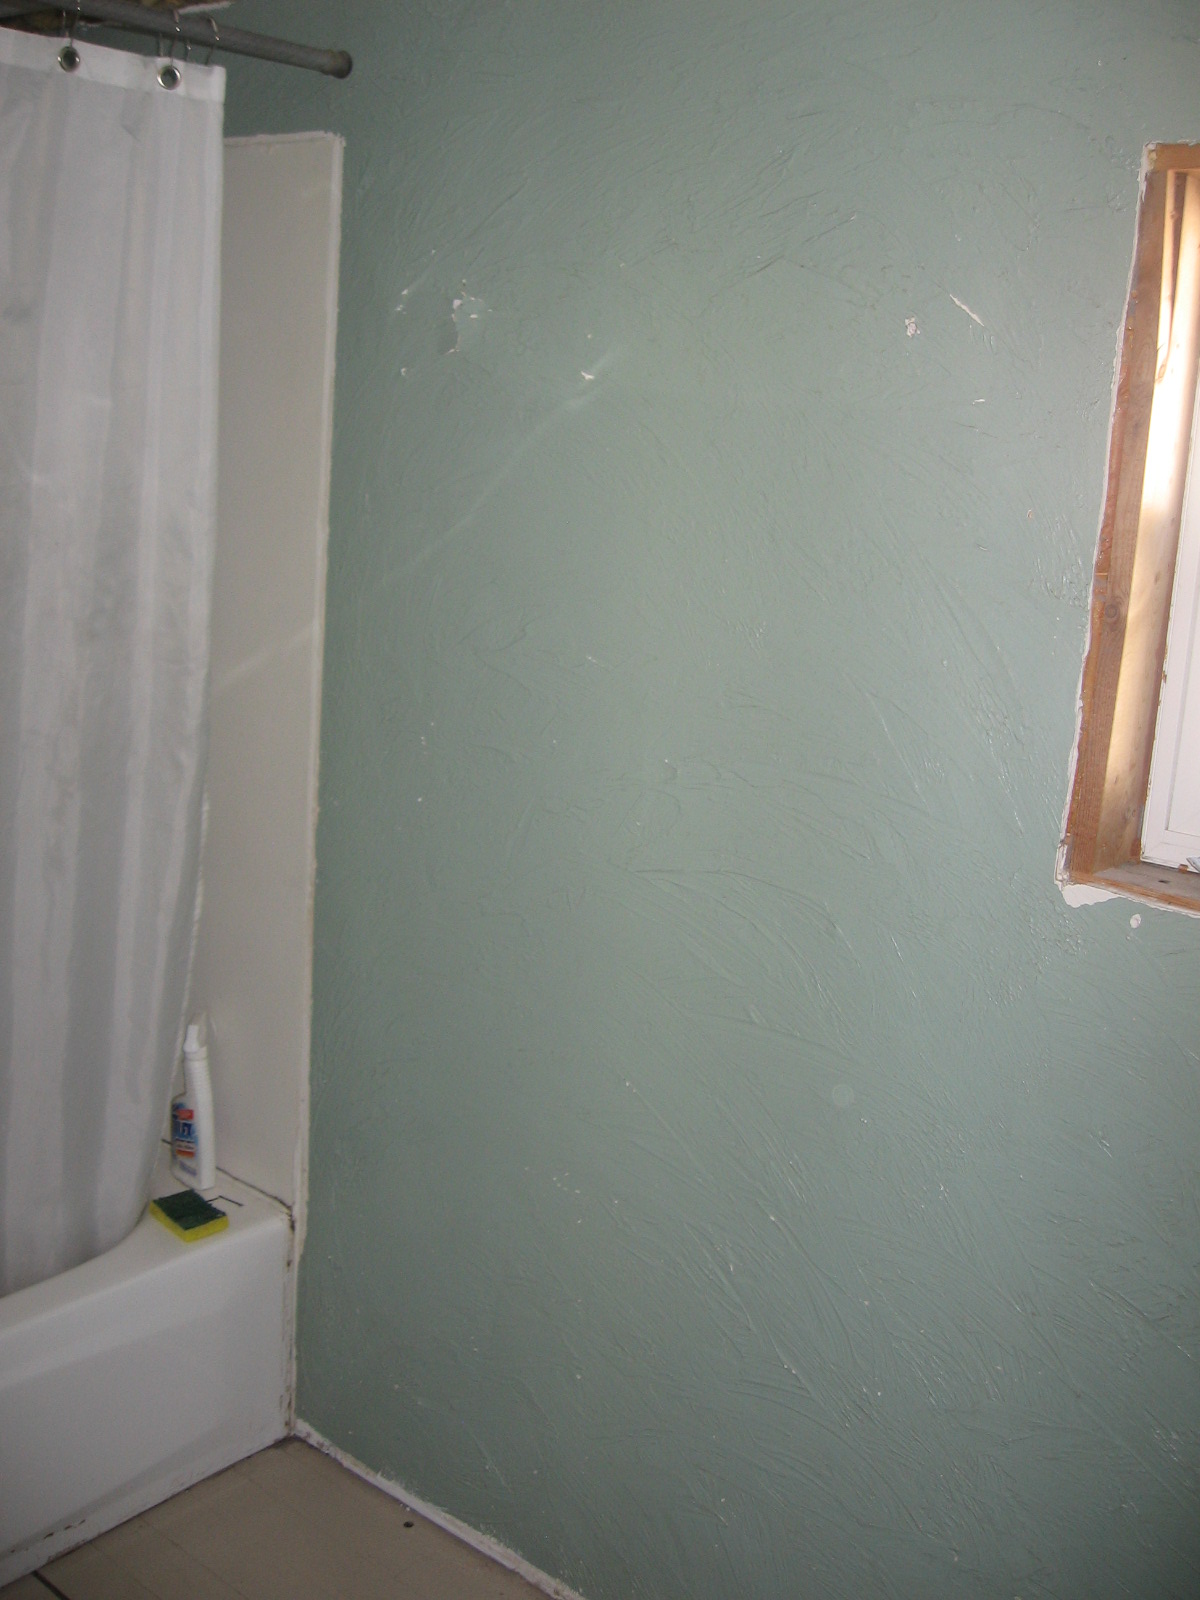
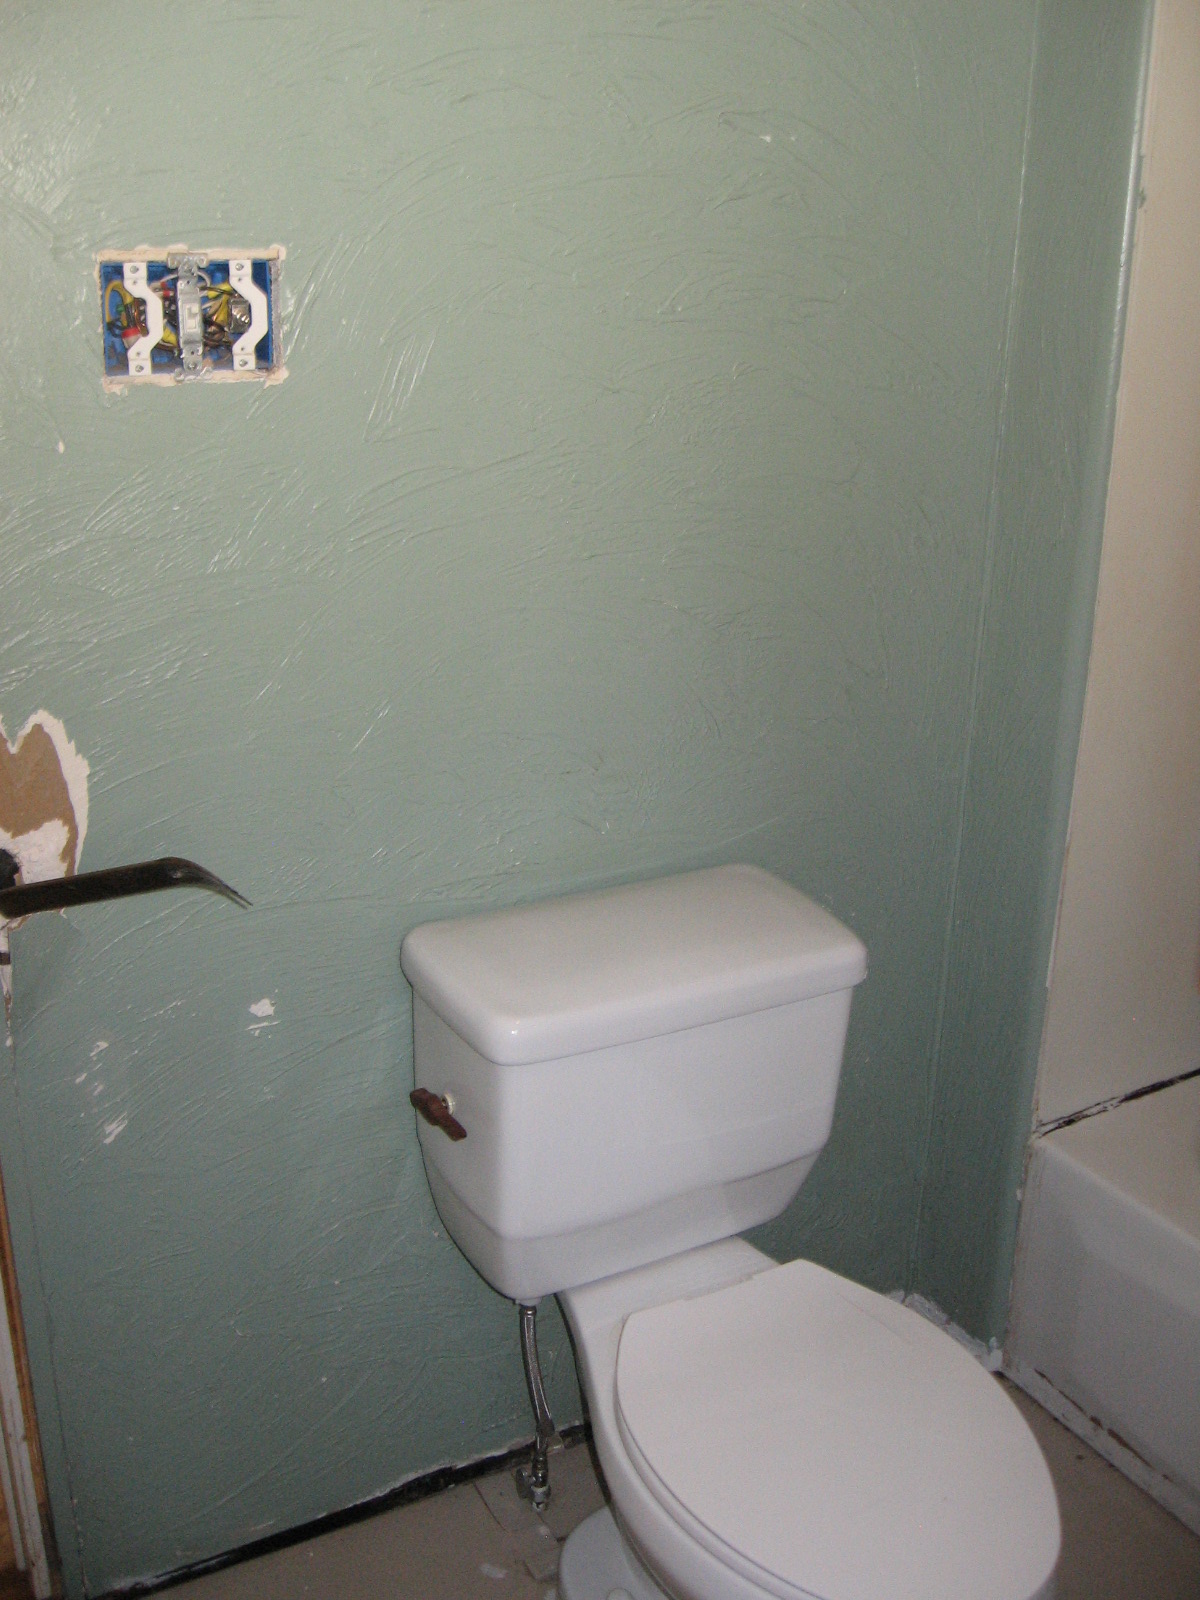
Before pics (before we started the second remodel)
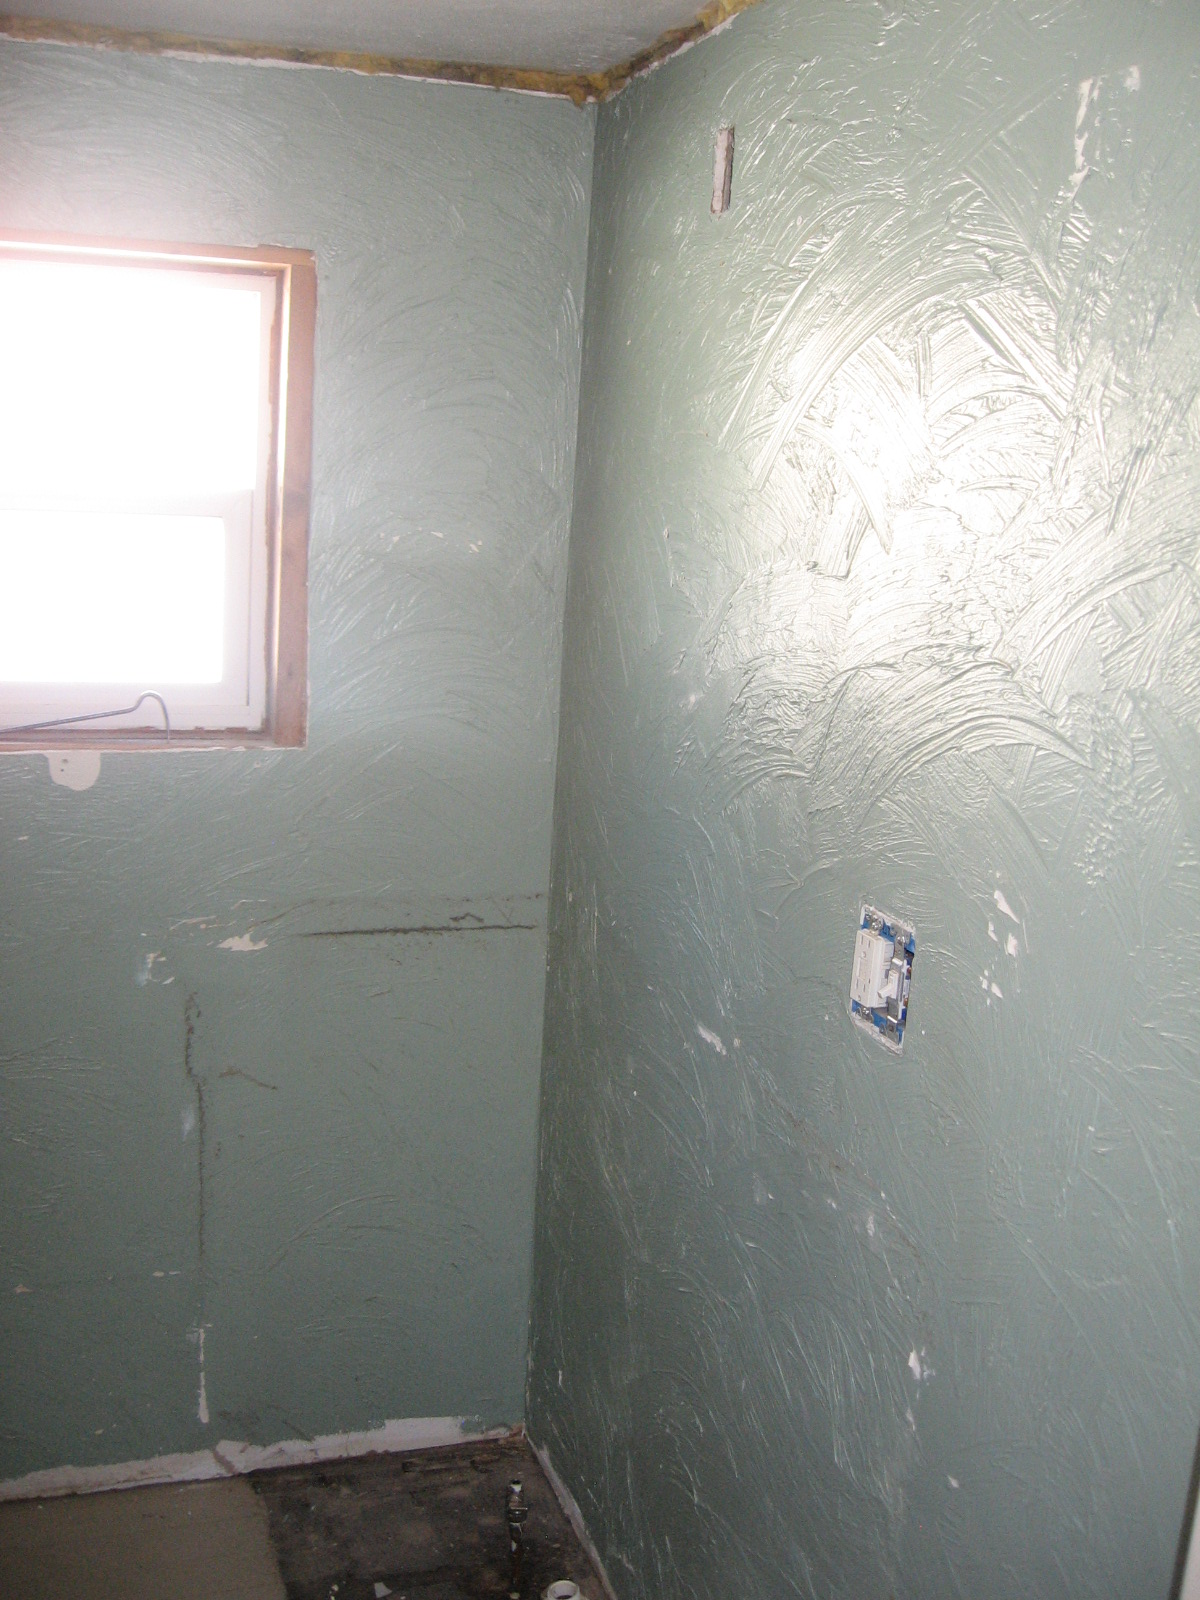 The vanity had been in the place where the floor is dark.
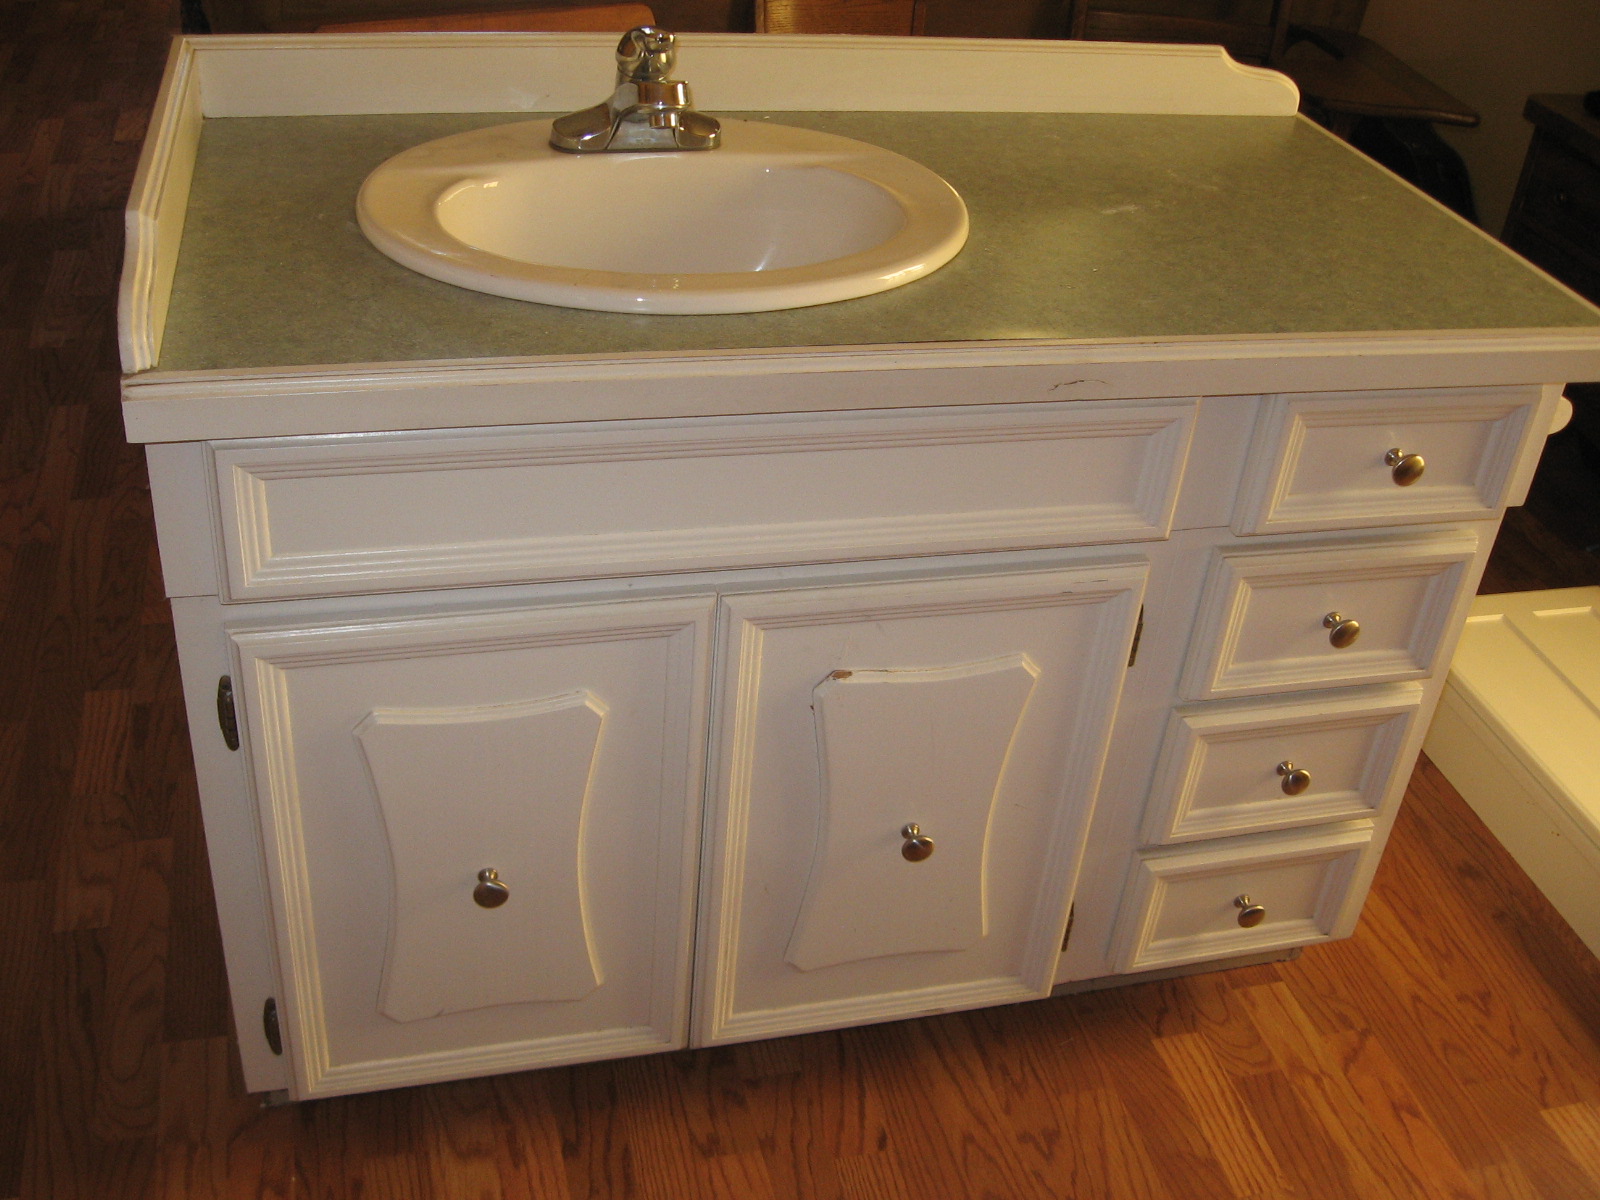
Our plan was to gut the room to the studs and replace basically everything but the toilet, the window and the ceiling, all which had been done previously. I wanted a light neutral room, with beadboard on the walls and dark flooring. I was planning to re-furbish an old dresser for the vanity and decorate with touches of Mason jar blue.
I always enjoy some of the history that comes out when you demo rooms in an old house. Sometimes it is so interesting, other times you wish you wouldn’t have found what you found. In the pics below you can see some of the good and some of the bad.
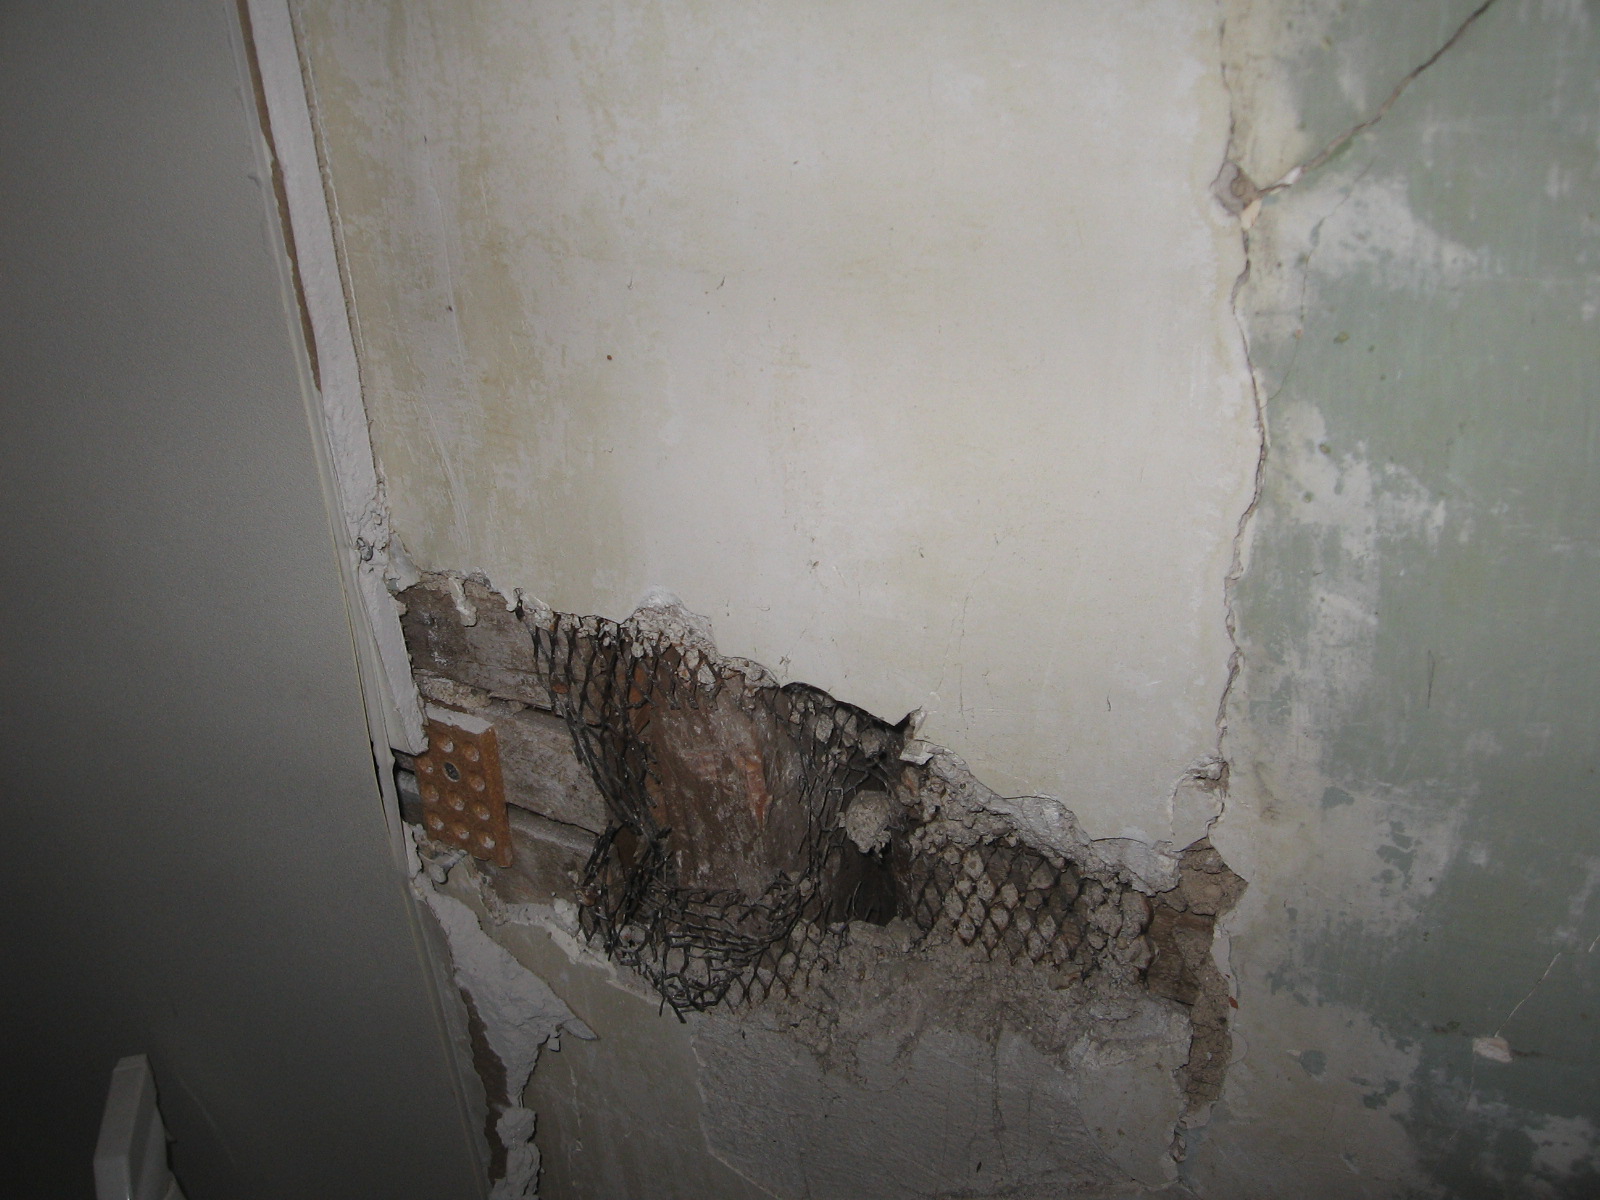
Photo 1 – some of the bad… “oh, our walls don’t line up…let’s just put some wire and an insane amount of plaster in there and no one will ever know!”
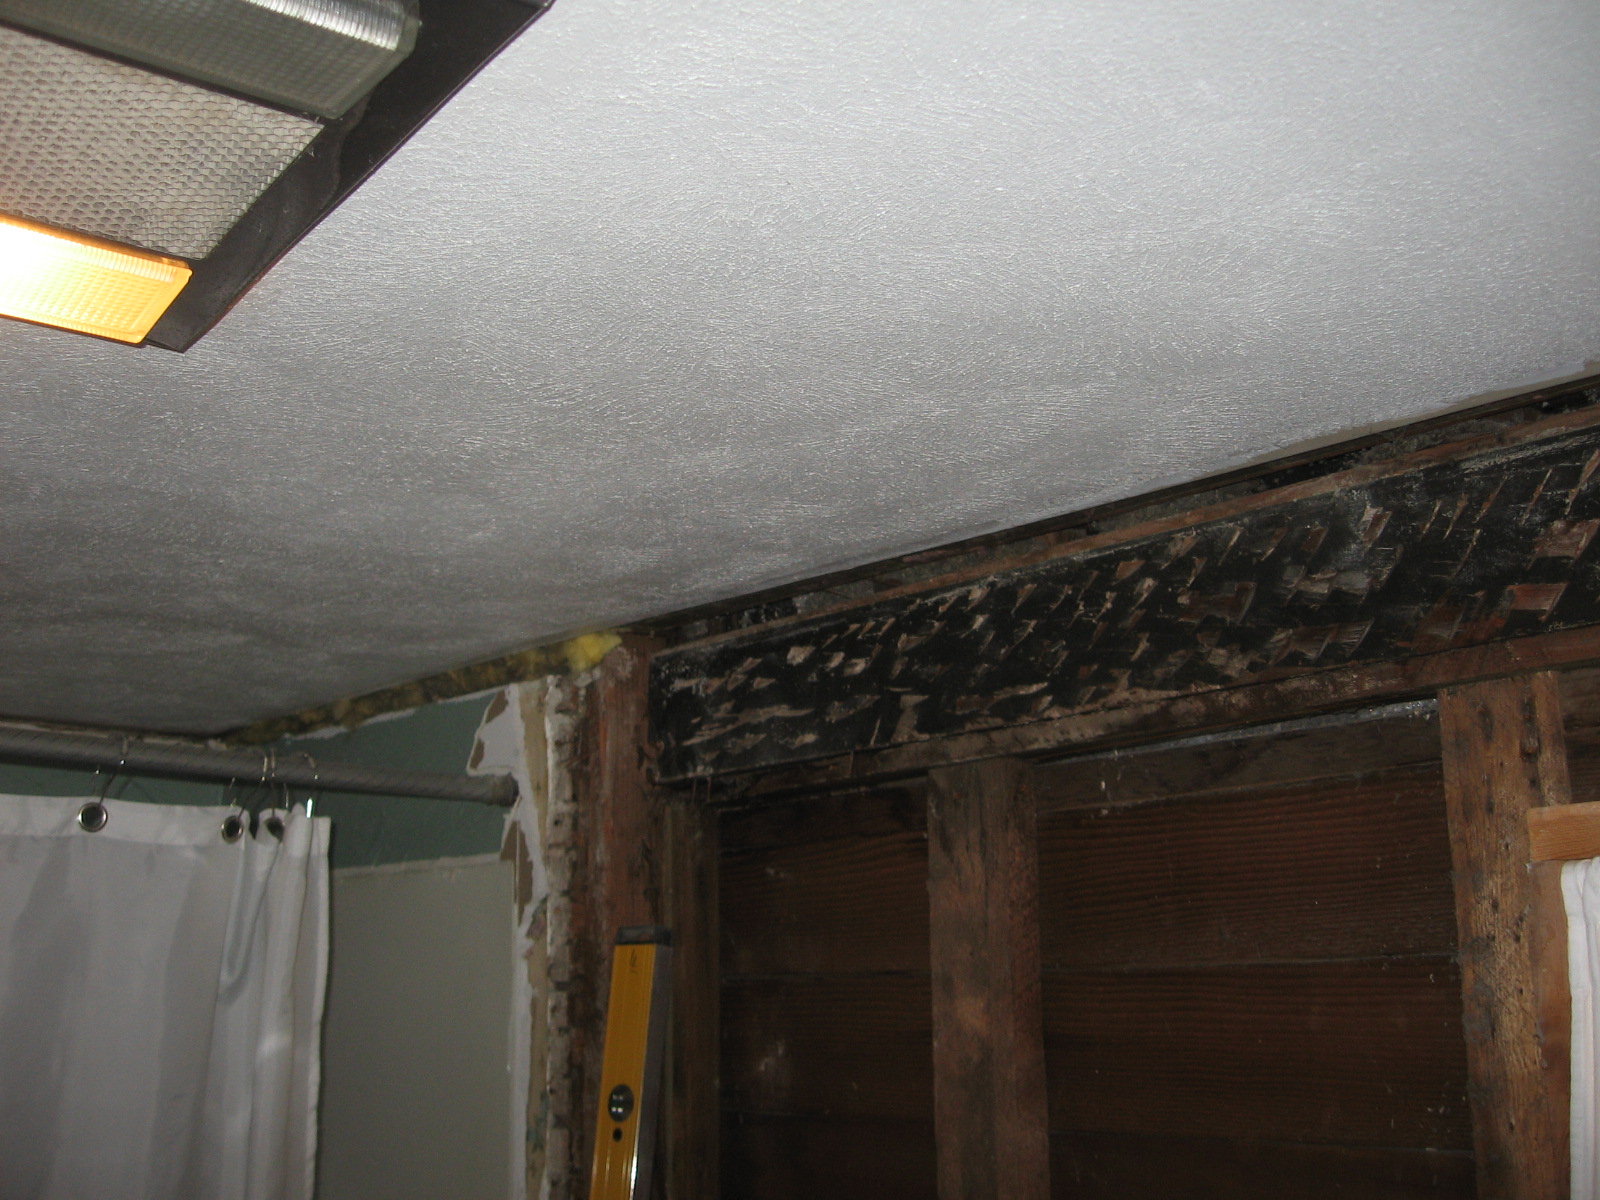
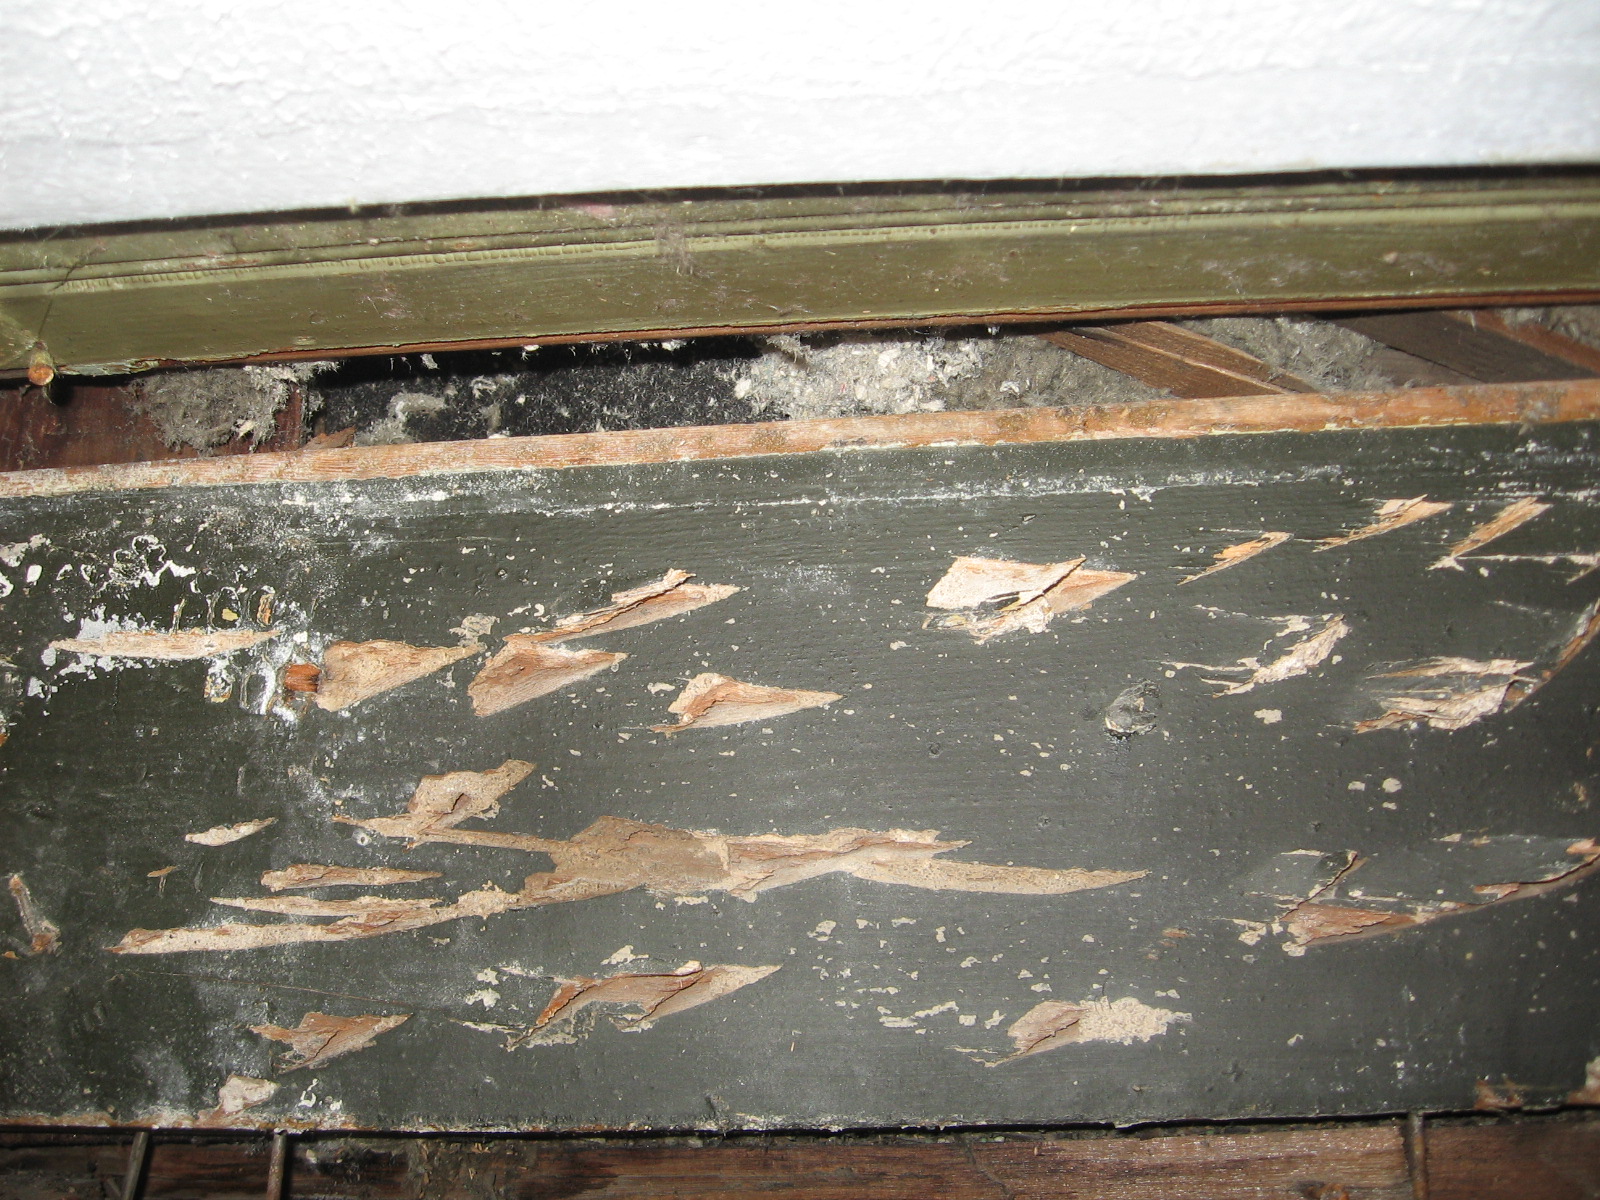
Photos 2-3 Something strange was going on with this top board…originally Daddy thought it was some adze work, but we aren’t really sure. But, do note in Photo 3 the bit of green beadboard that was an original ceiling. Would have loved to go back to that but it just didn’t end up working out for this project.
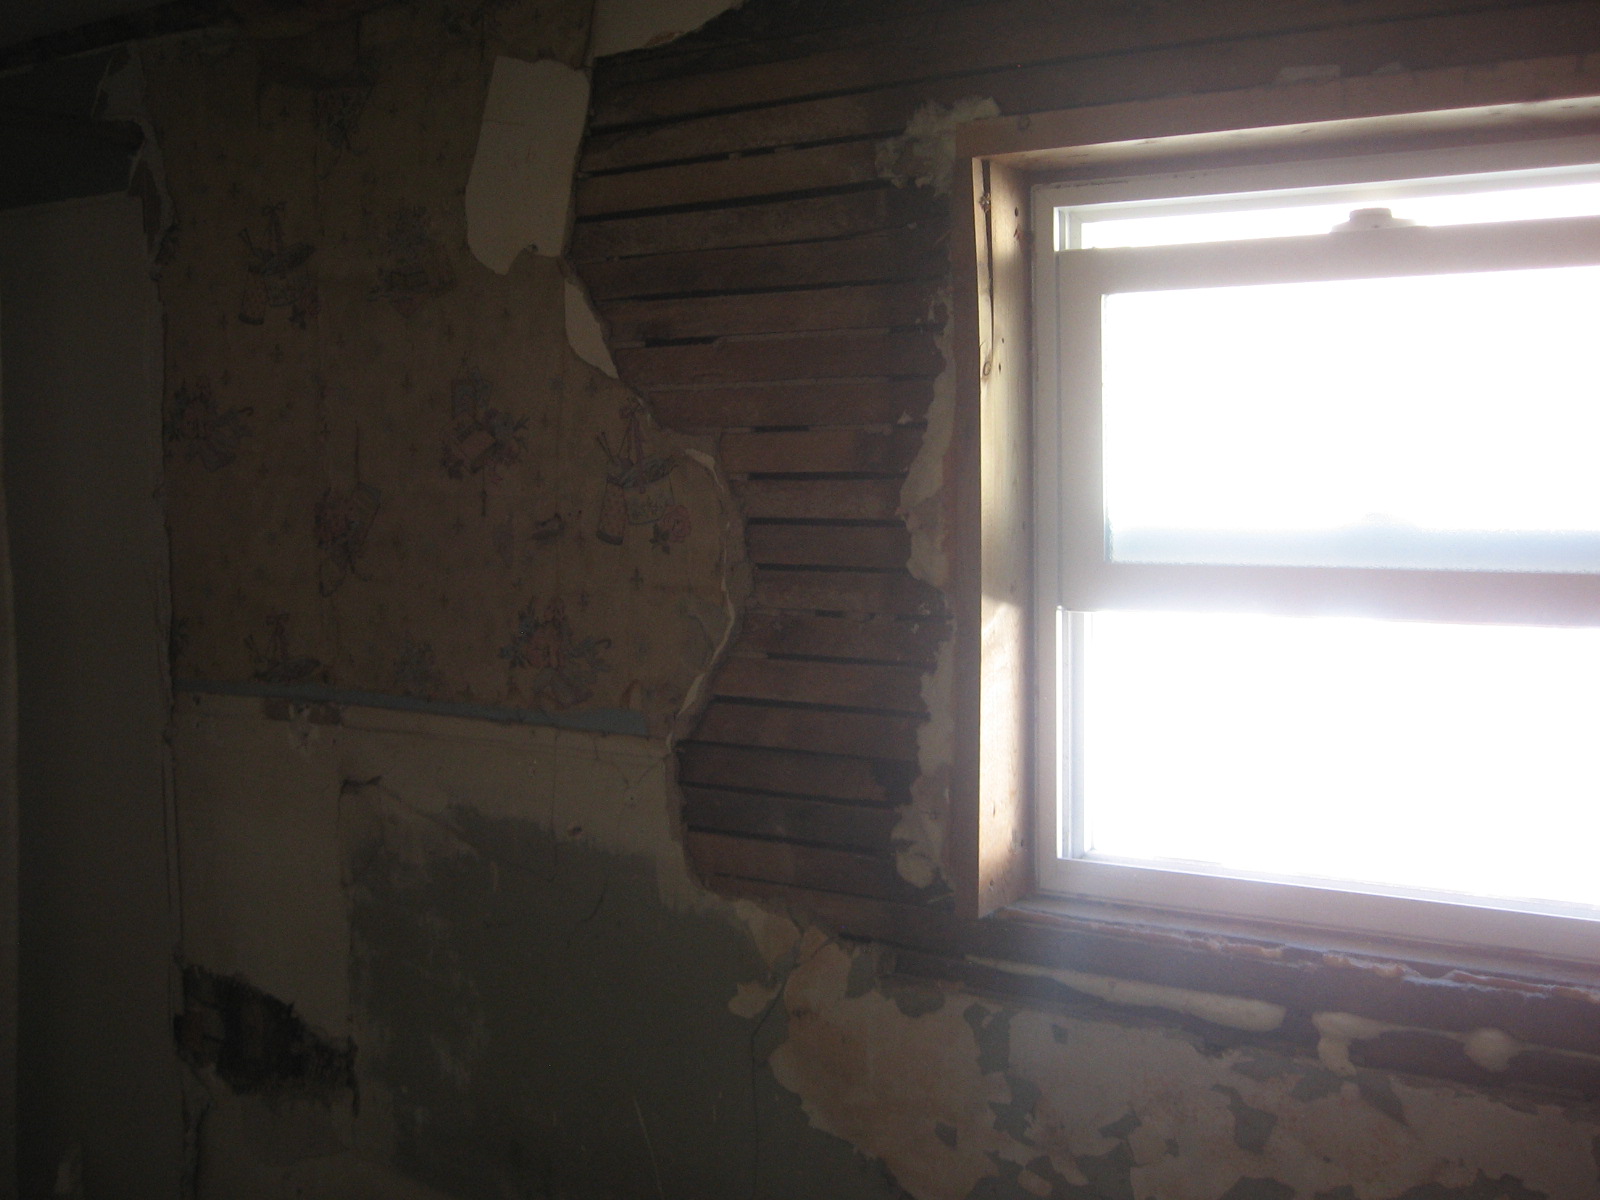
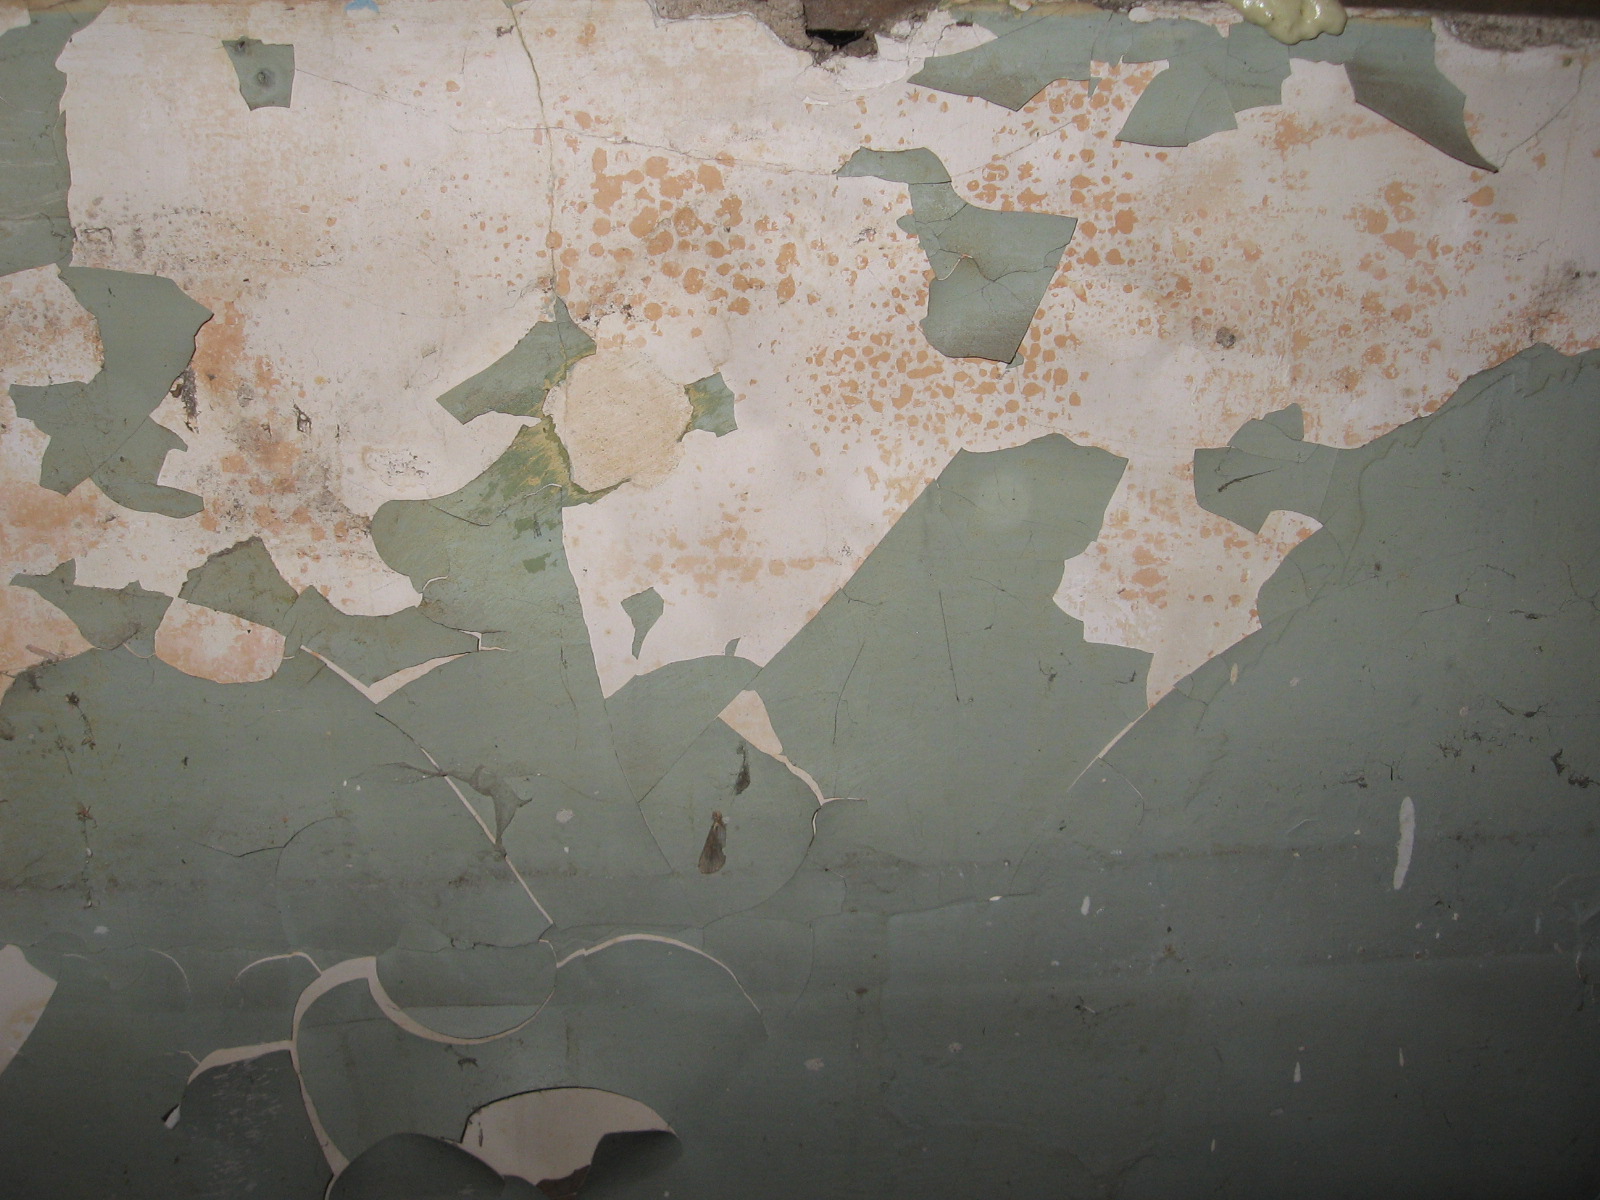
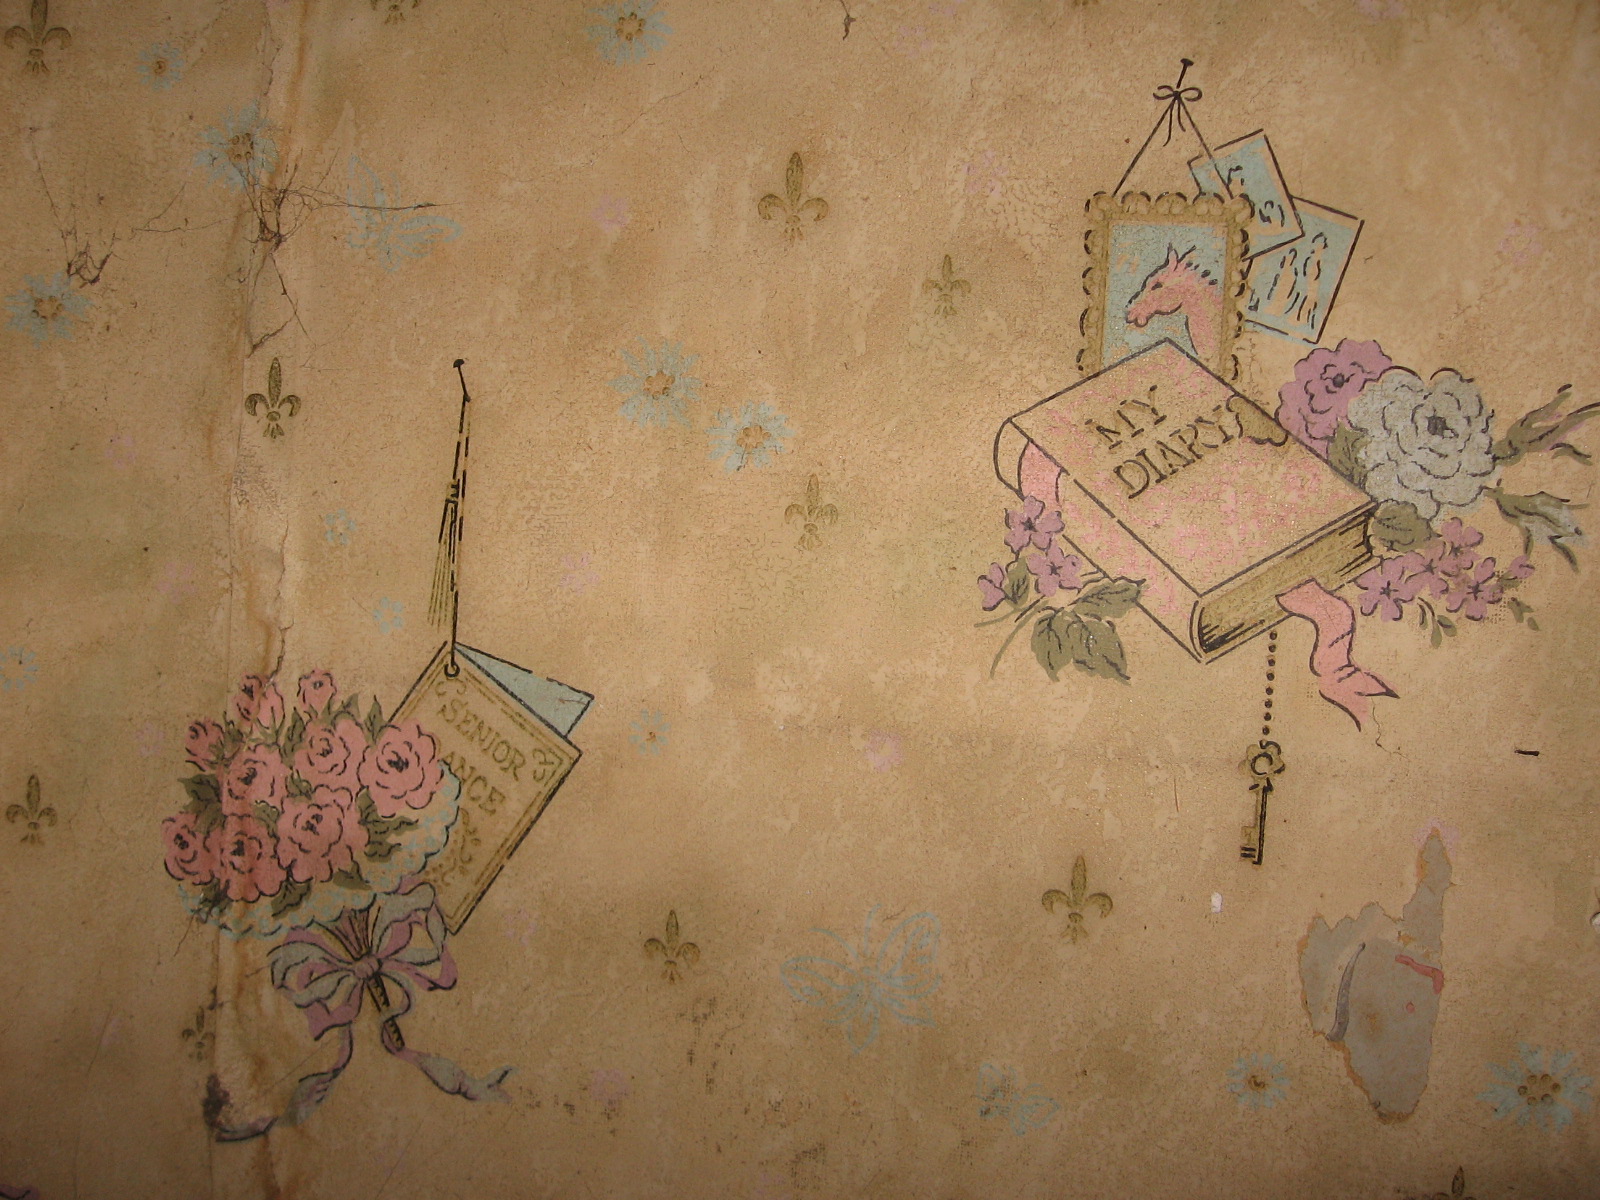
Photo 4-5-6 are all related: taking off sheetrock revealed a painted and wall-papered plaster and lathe wall. The paint was “antique green” as I call it and the wallpaper was amazing – as in, “why would you put wallpaper in a bathroom with “my diary” and all sorts of girly girl stuff on it?”
When we got to the last wall, we discovered something that would change my final design plans…the original house siding. We believe the bathroom was tacked onto the side of the porch (or kitchen as it may have been converted by then) and the siding had been left on. And painted black, which was a bit strange.
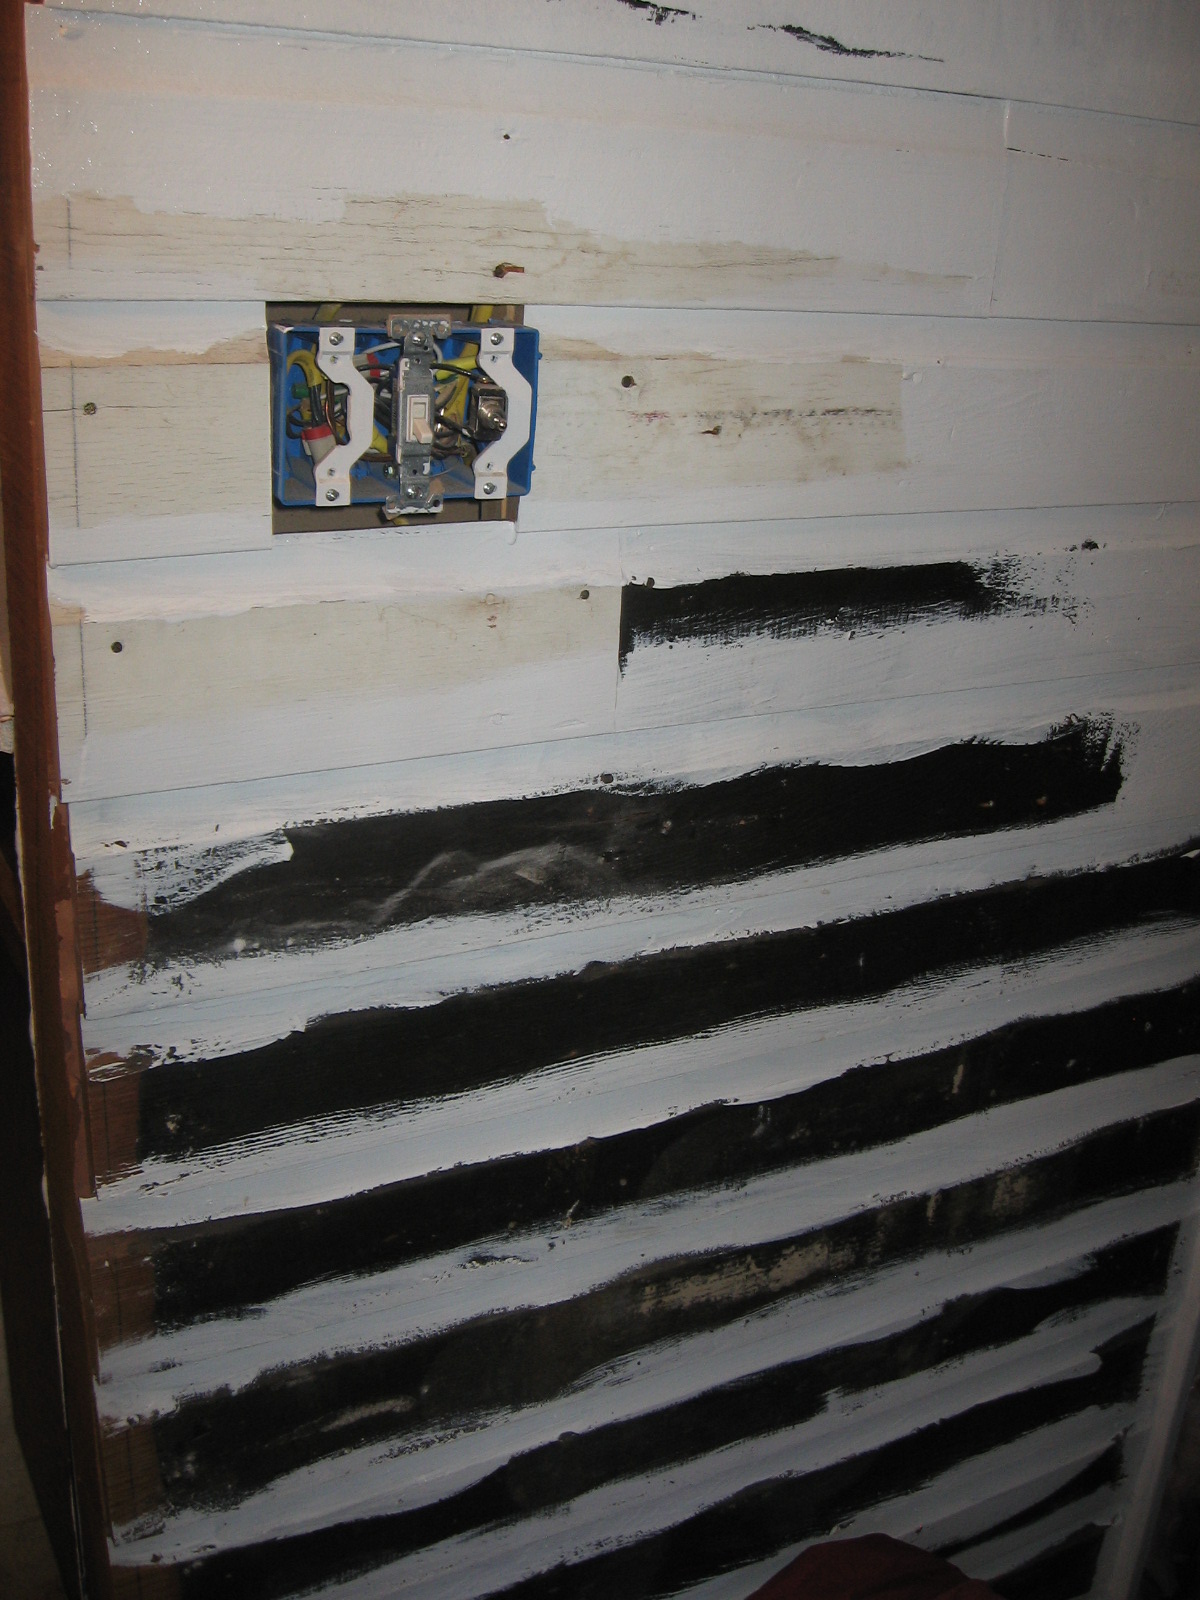
Forgot to take a photo until we had started priming the black siding.
So, we decided to leave the siding instead of doing beadboard. Then Daddy, handy man that he is, milled matching siding and used it as a 2/3 wainscotting on 2 of the other walls! It ended up working perfectly and I am so glad we were able to leave something original to the house and have it look good in the final design.
Daddy also made a custom vanity as I could not seem to find a dresser that would be the right height or length to fit our spot. He is amazing at making new things look old and the vanity fits right in with our old siding, antique medicine cabinet and vintage accessories around the room.
So, after the second time around remodel...the finished product!
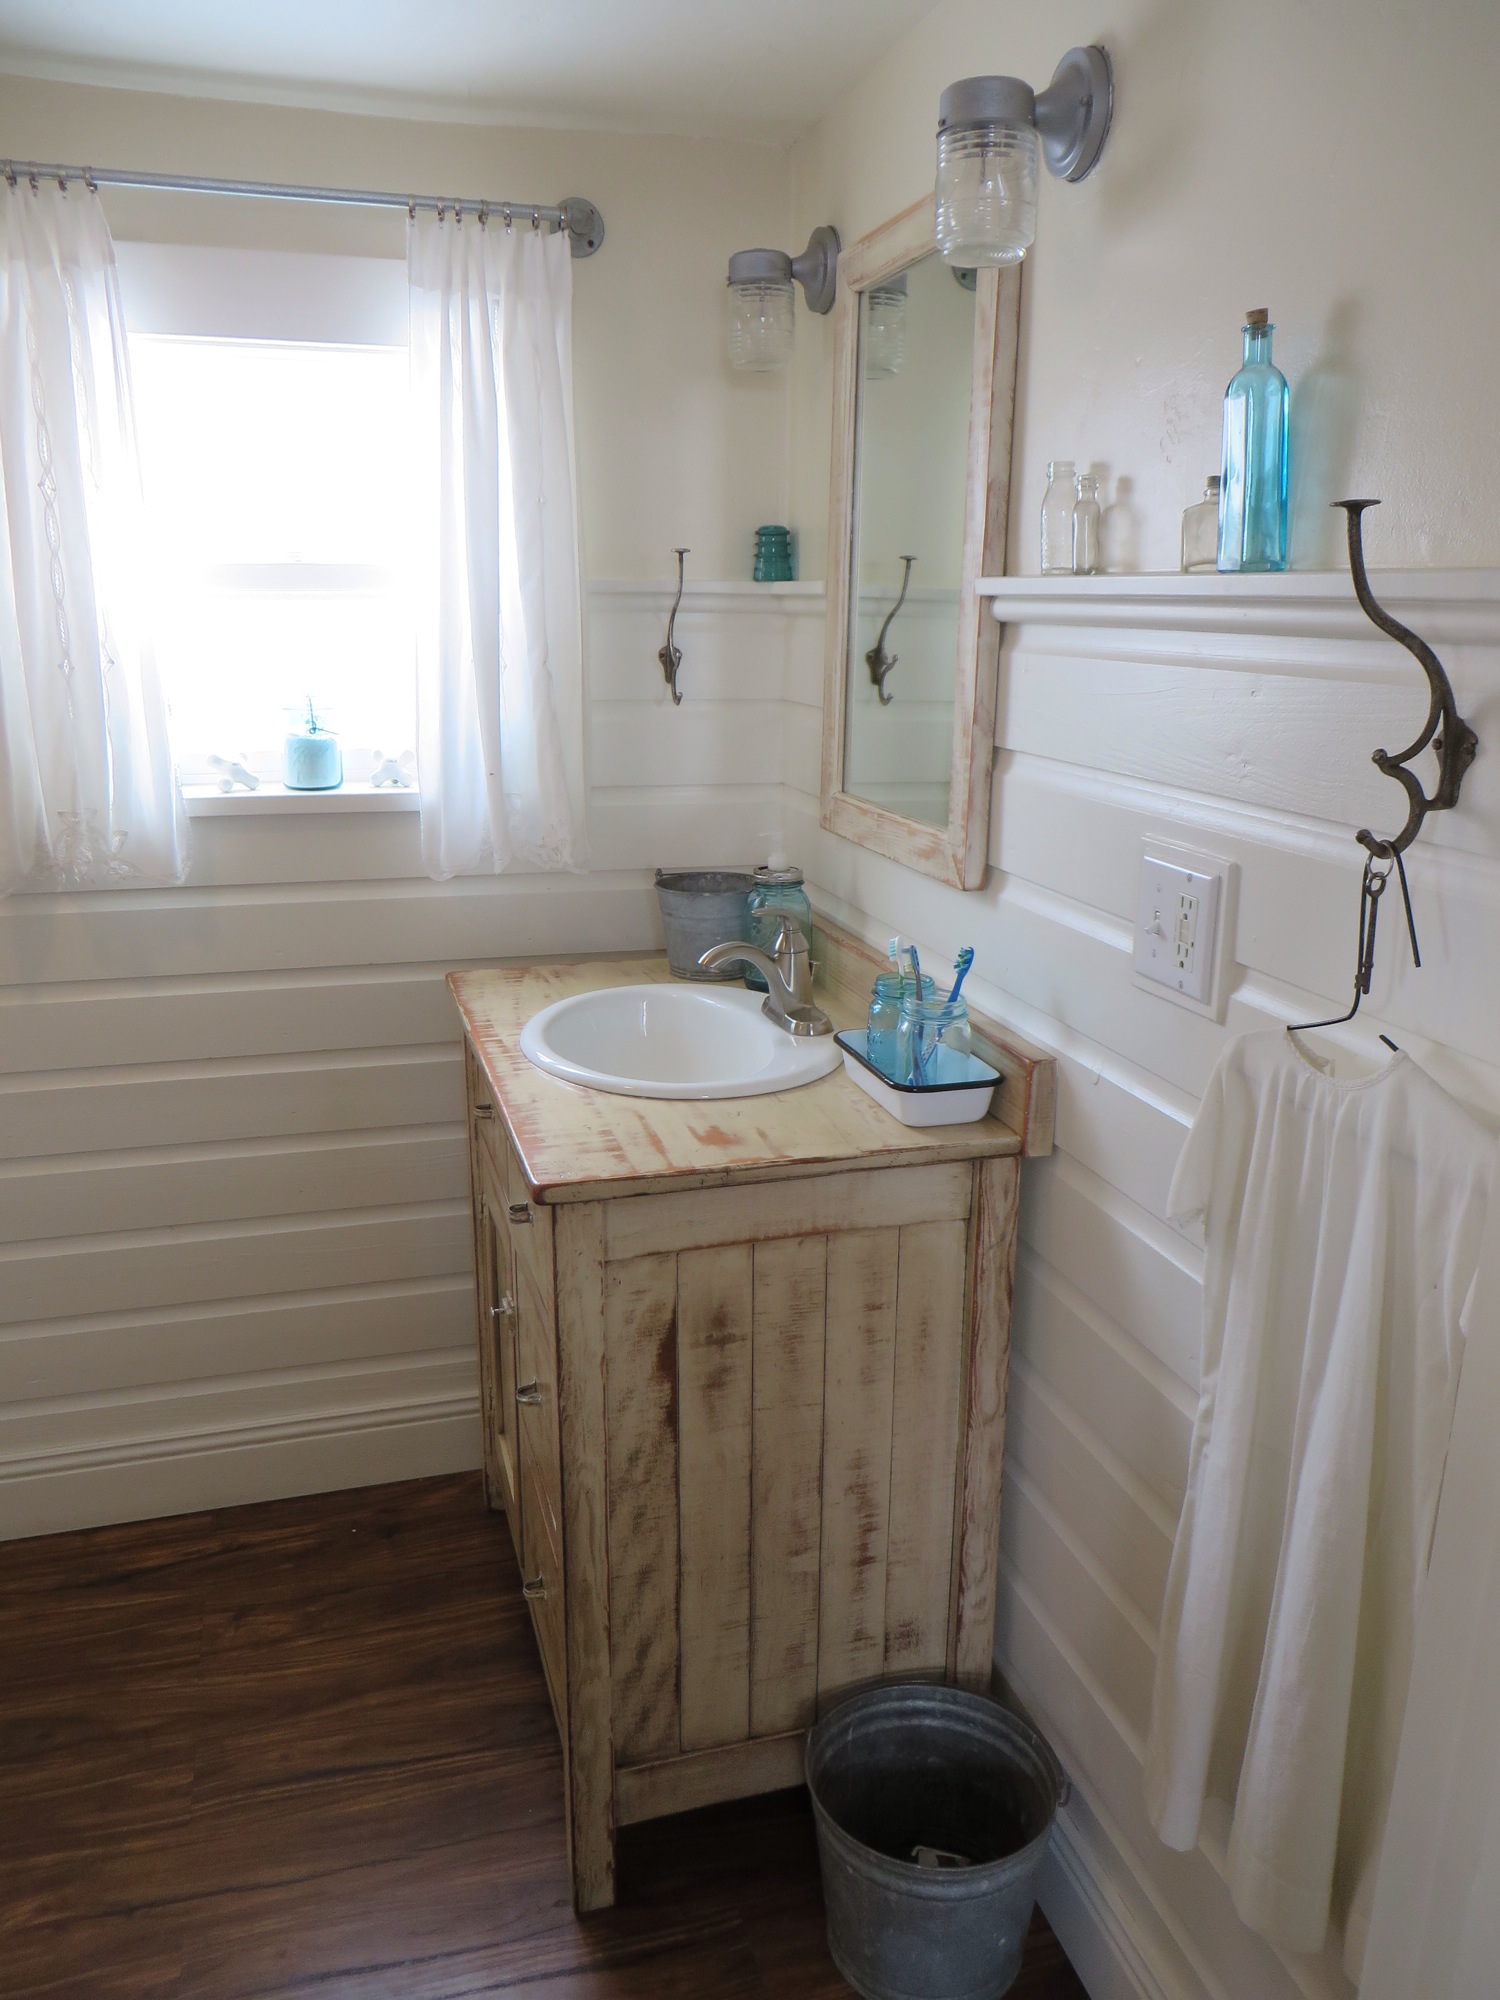
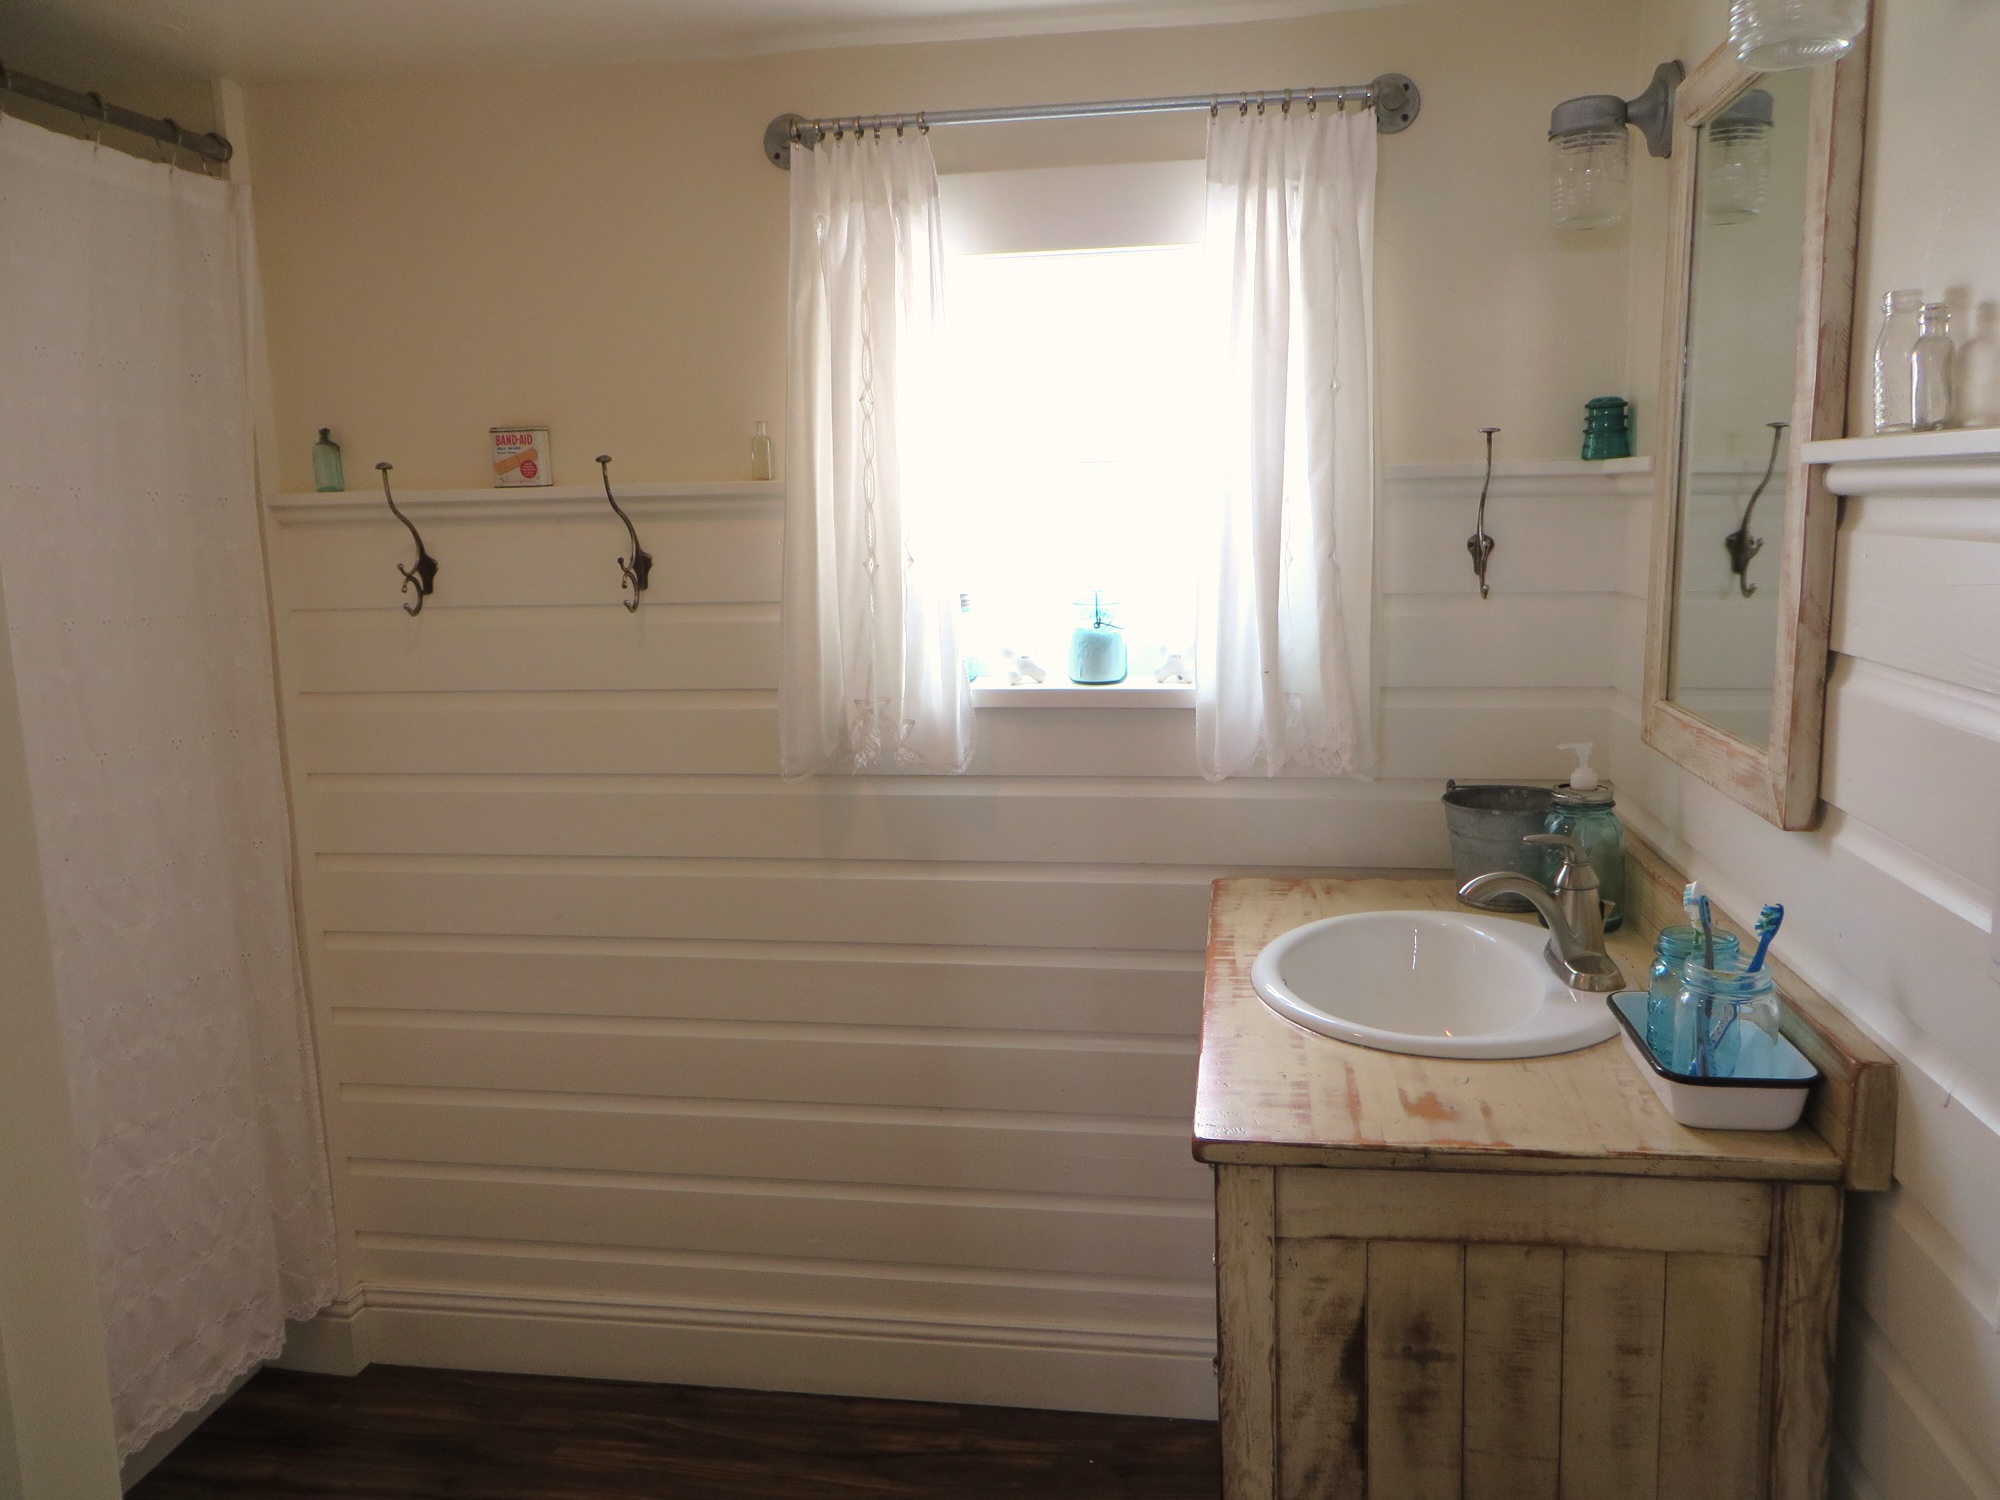

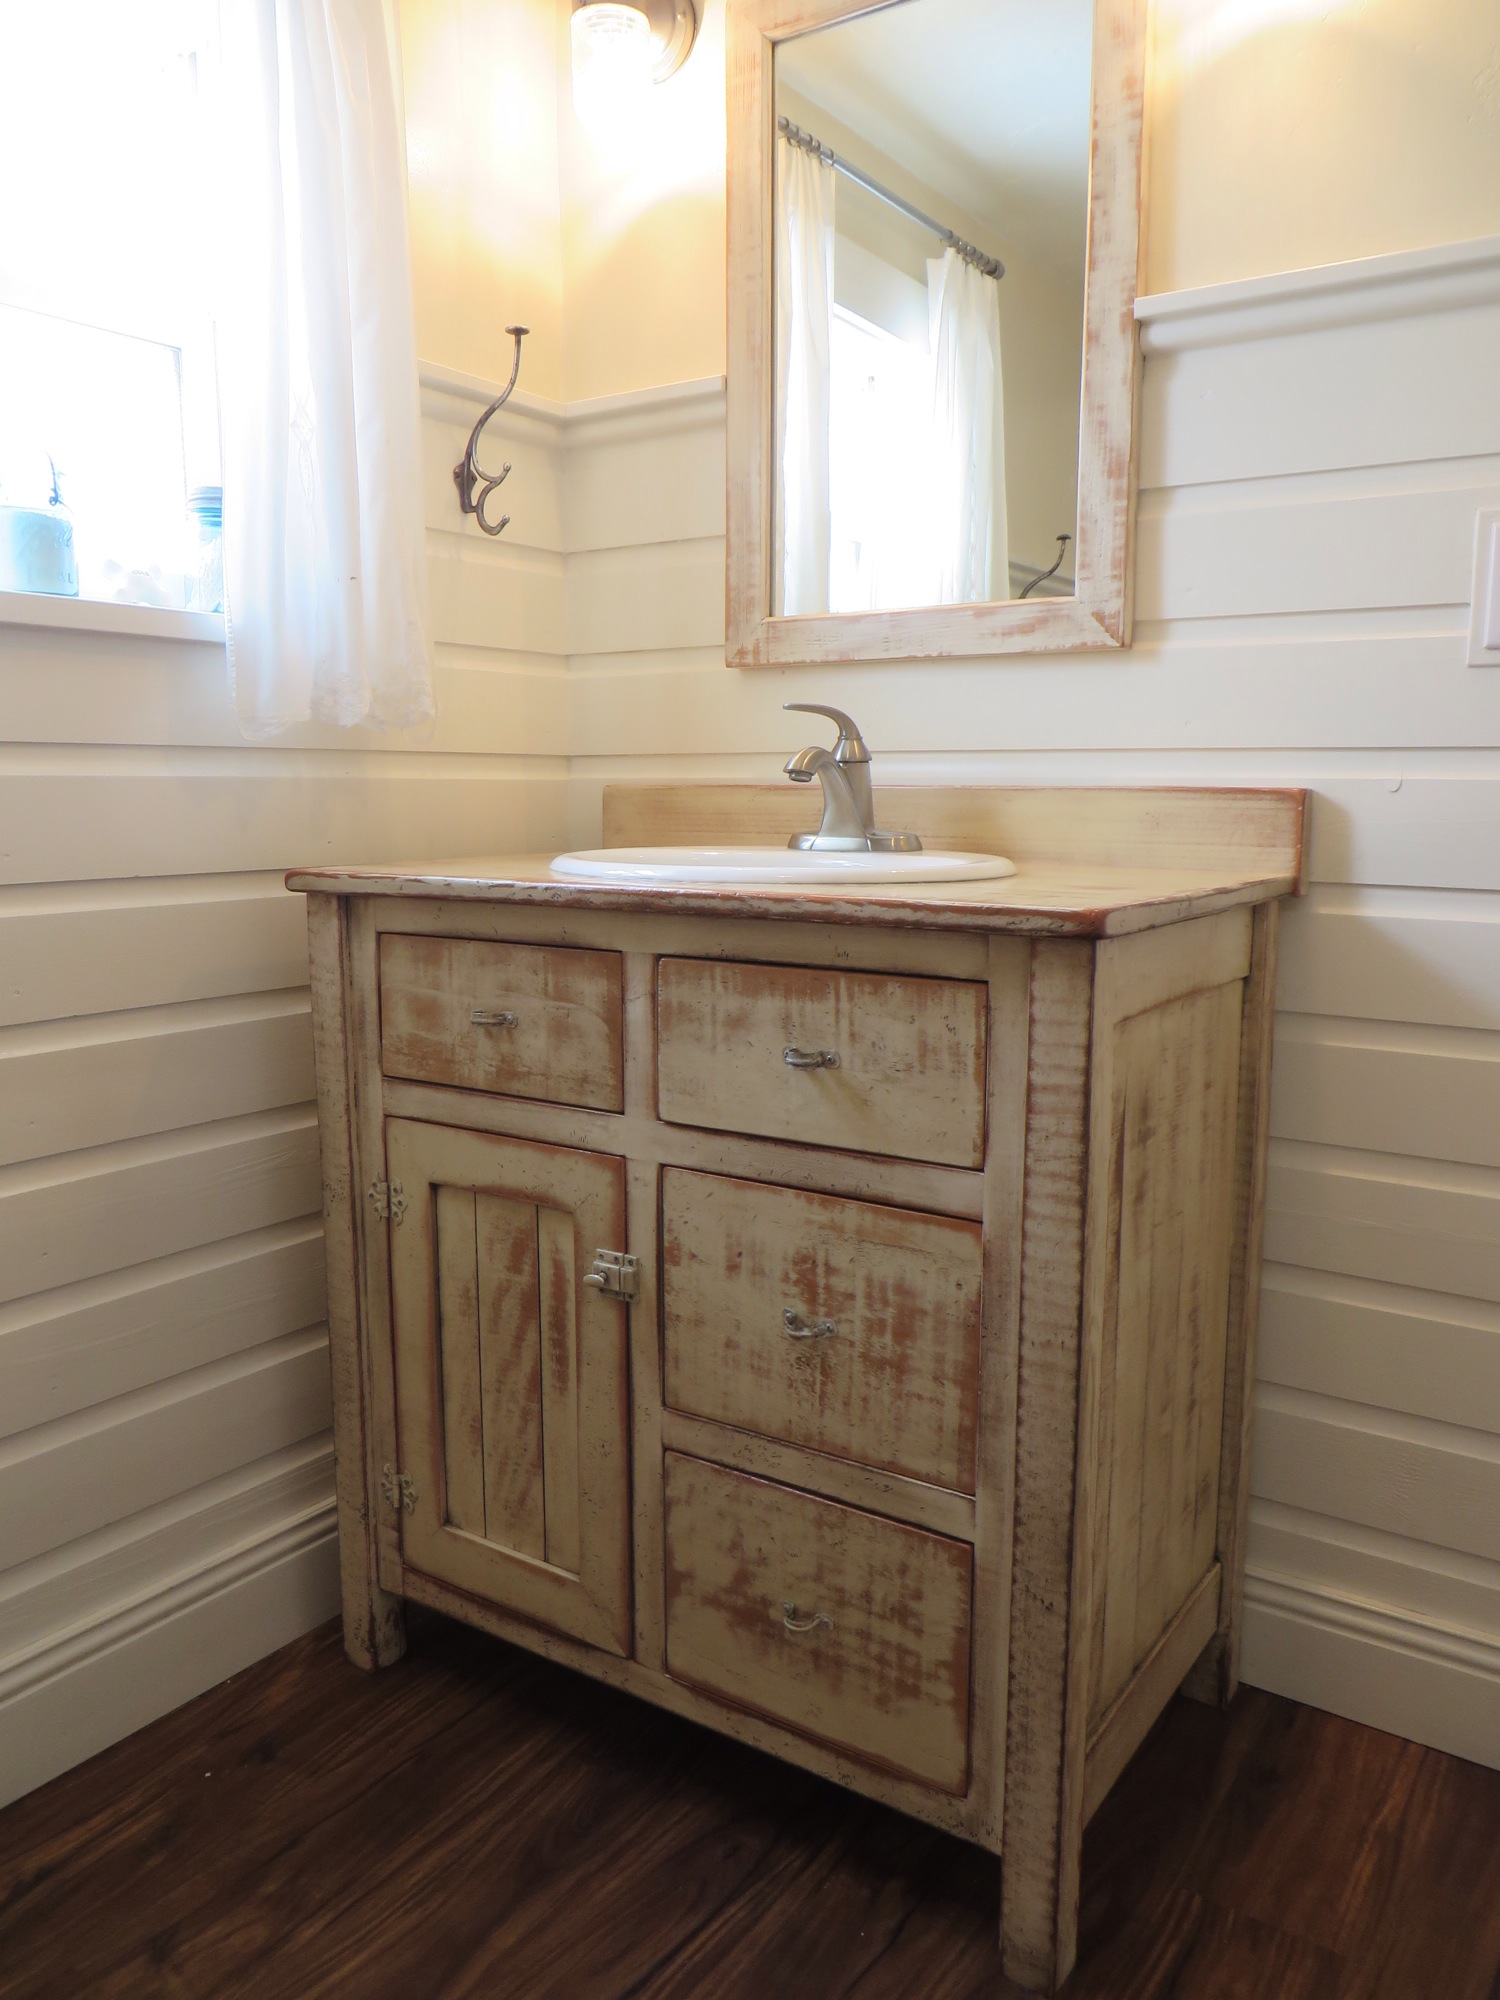
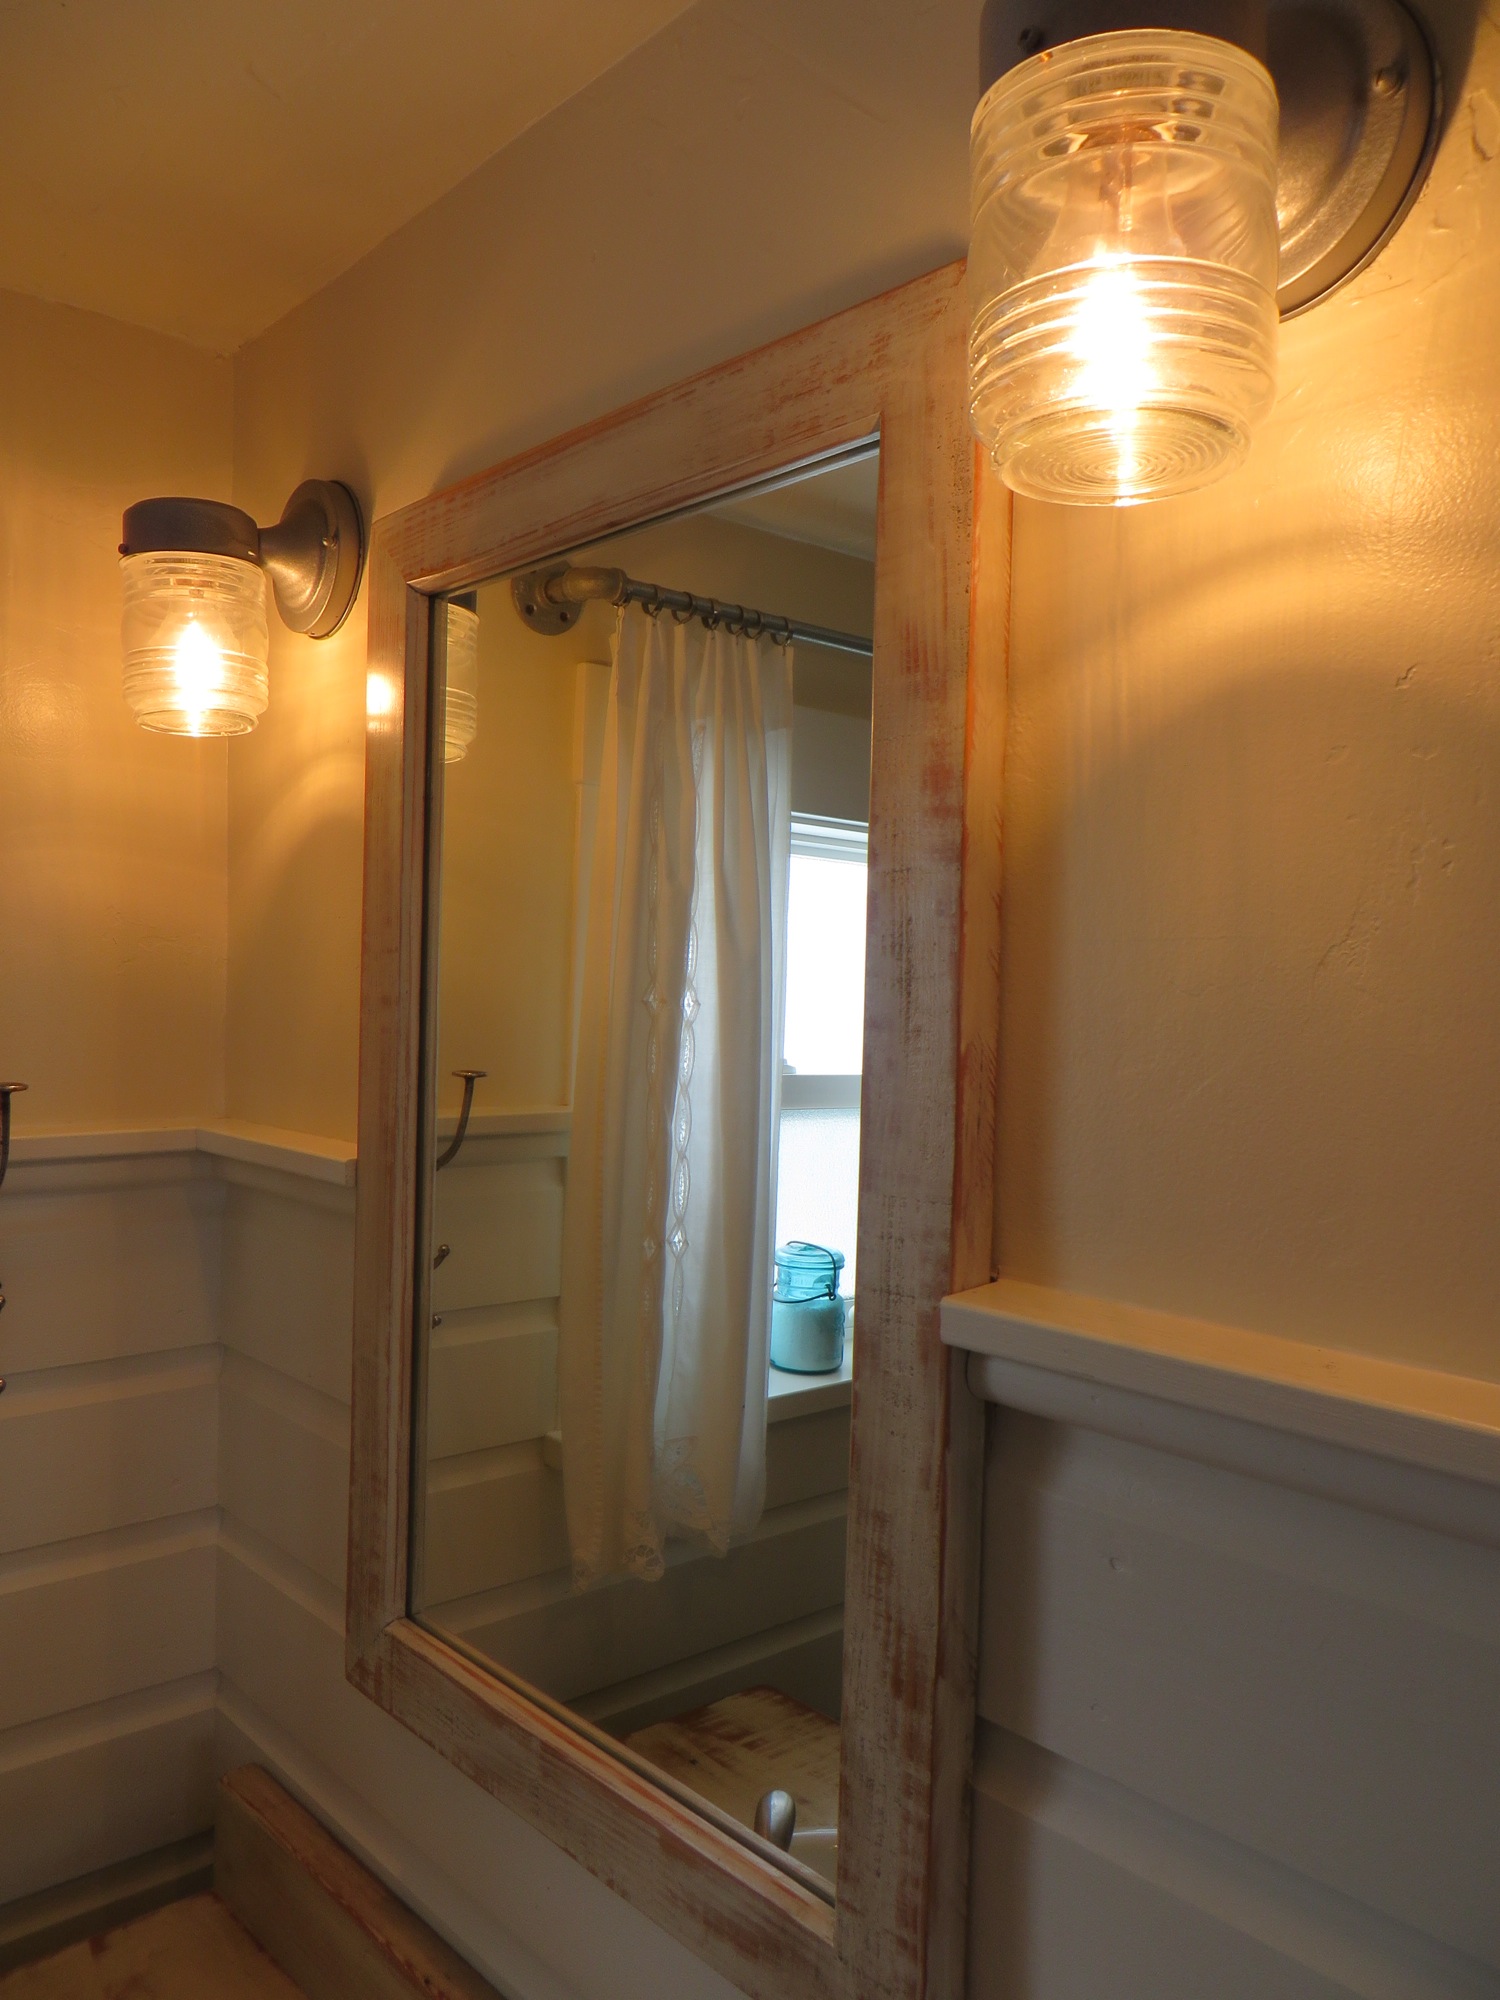
Custom vanity and mirror


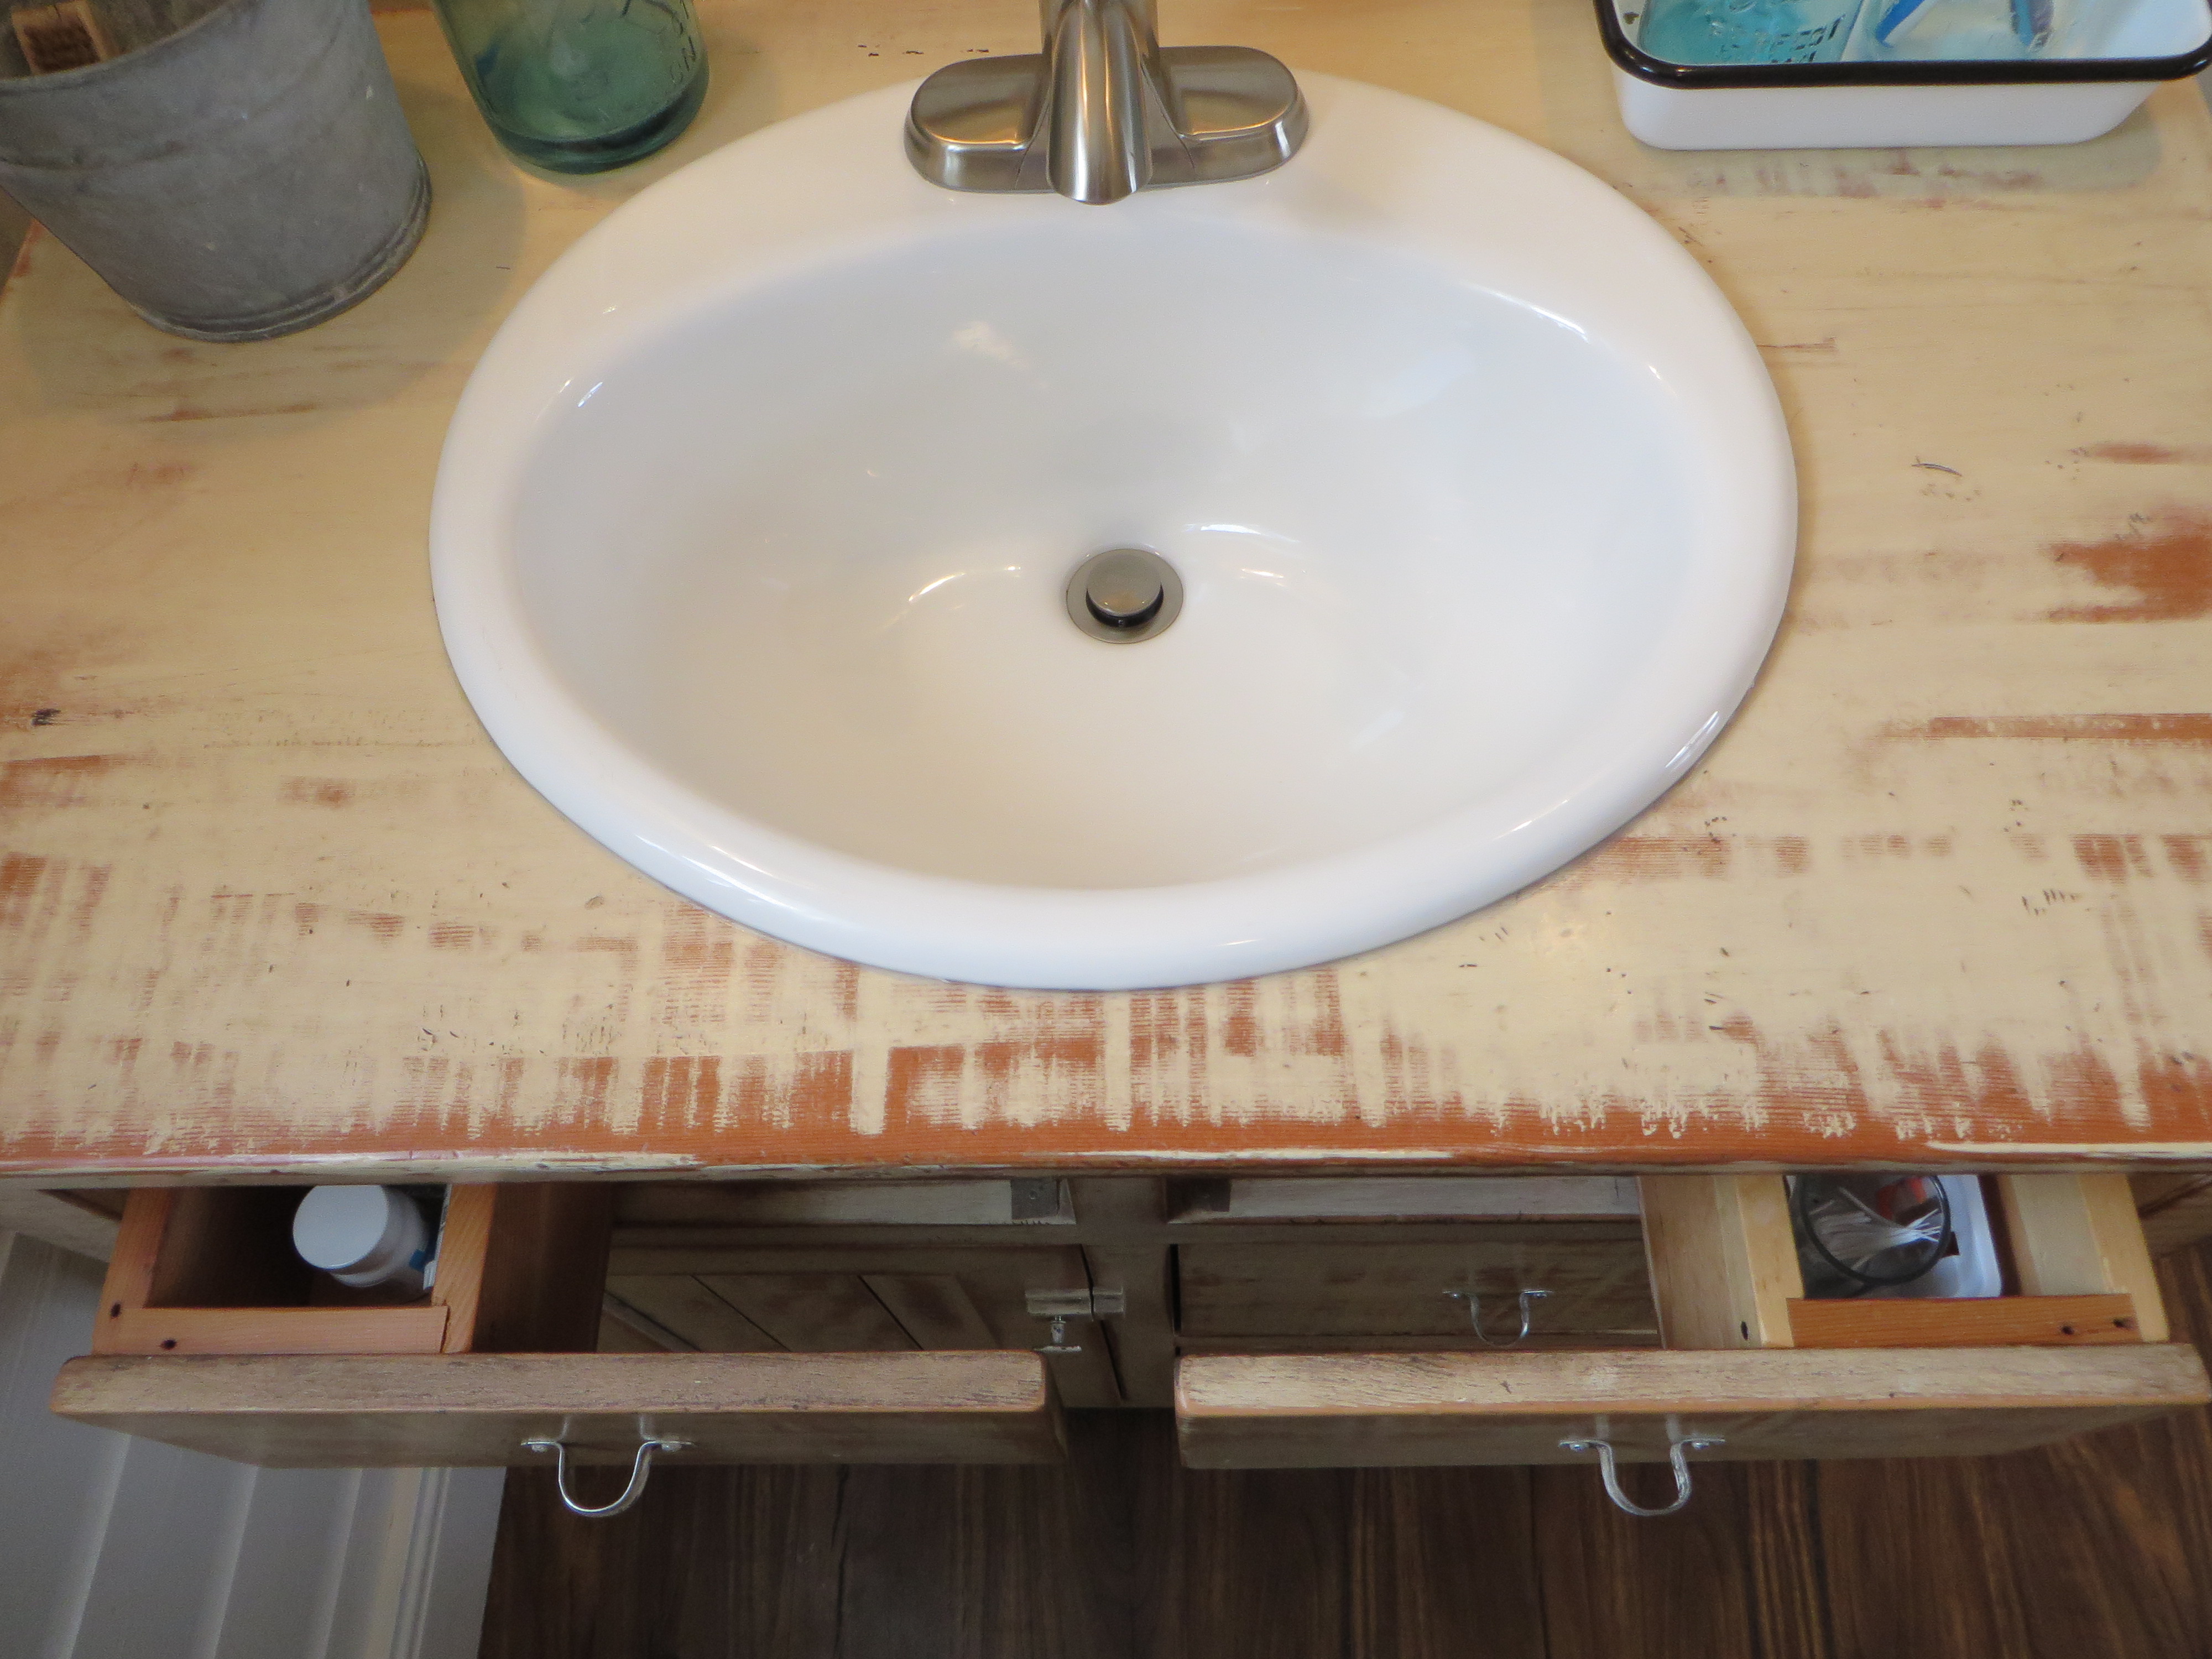
Custom drawers in the vanity pull out along each side of the sink!

Re-purposed ammo box as toilet paper roll holder and storage
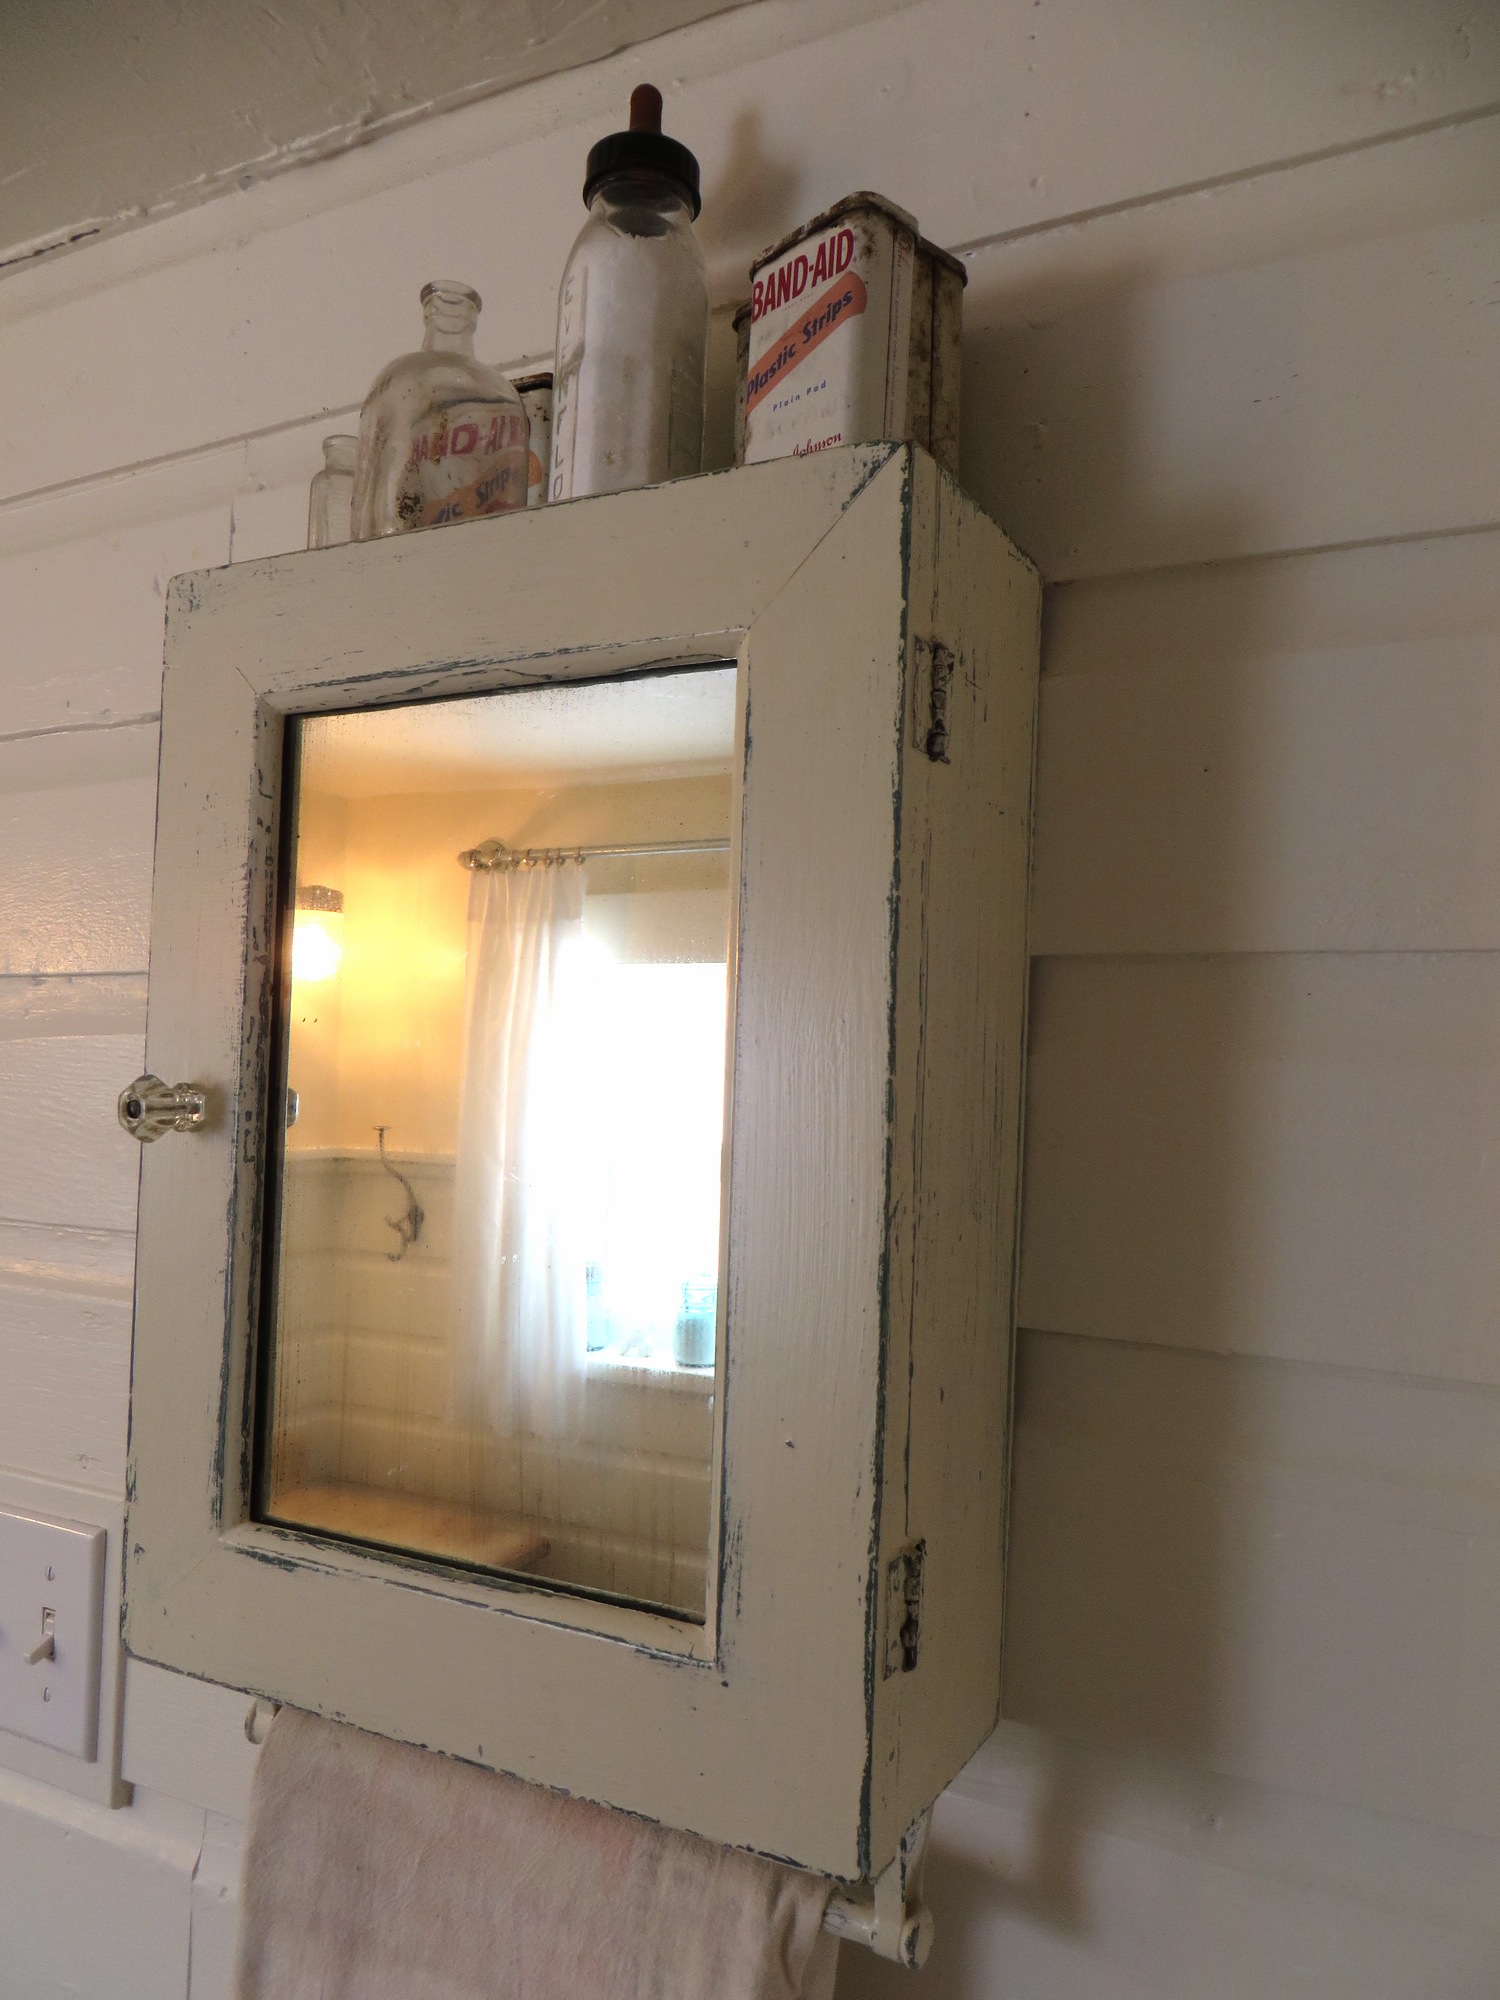
Medicine cabinet from a local house that was being torn down

Cabinet was painted, distressed, glazed and top-coated to give an aged appearance
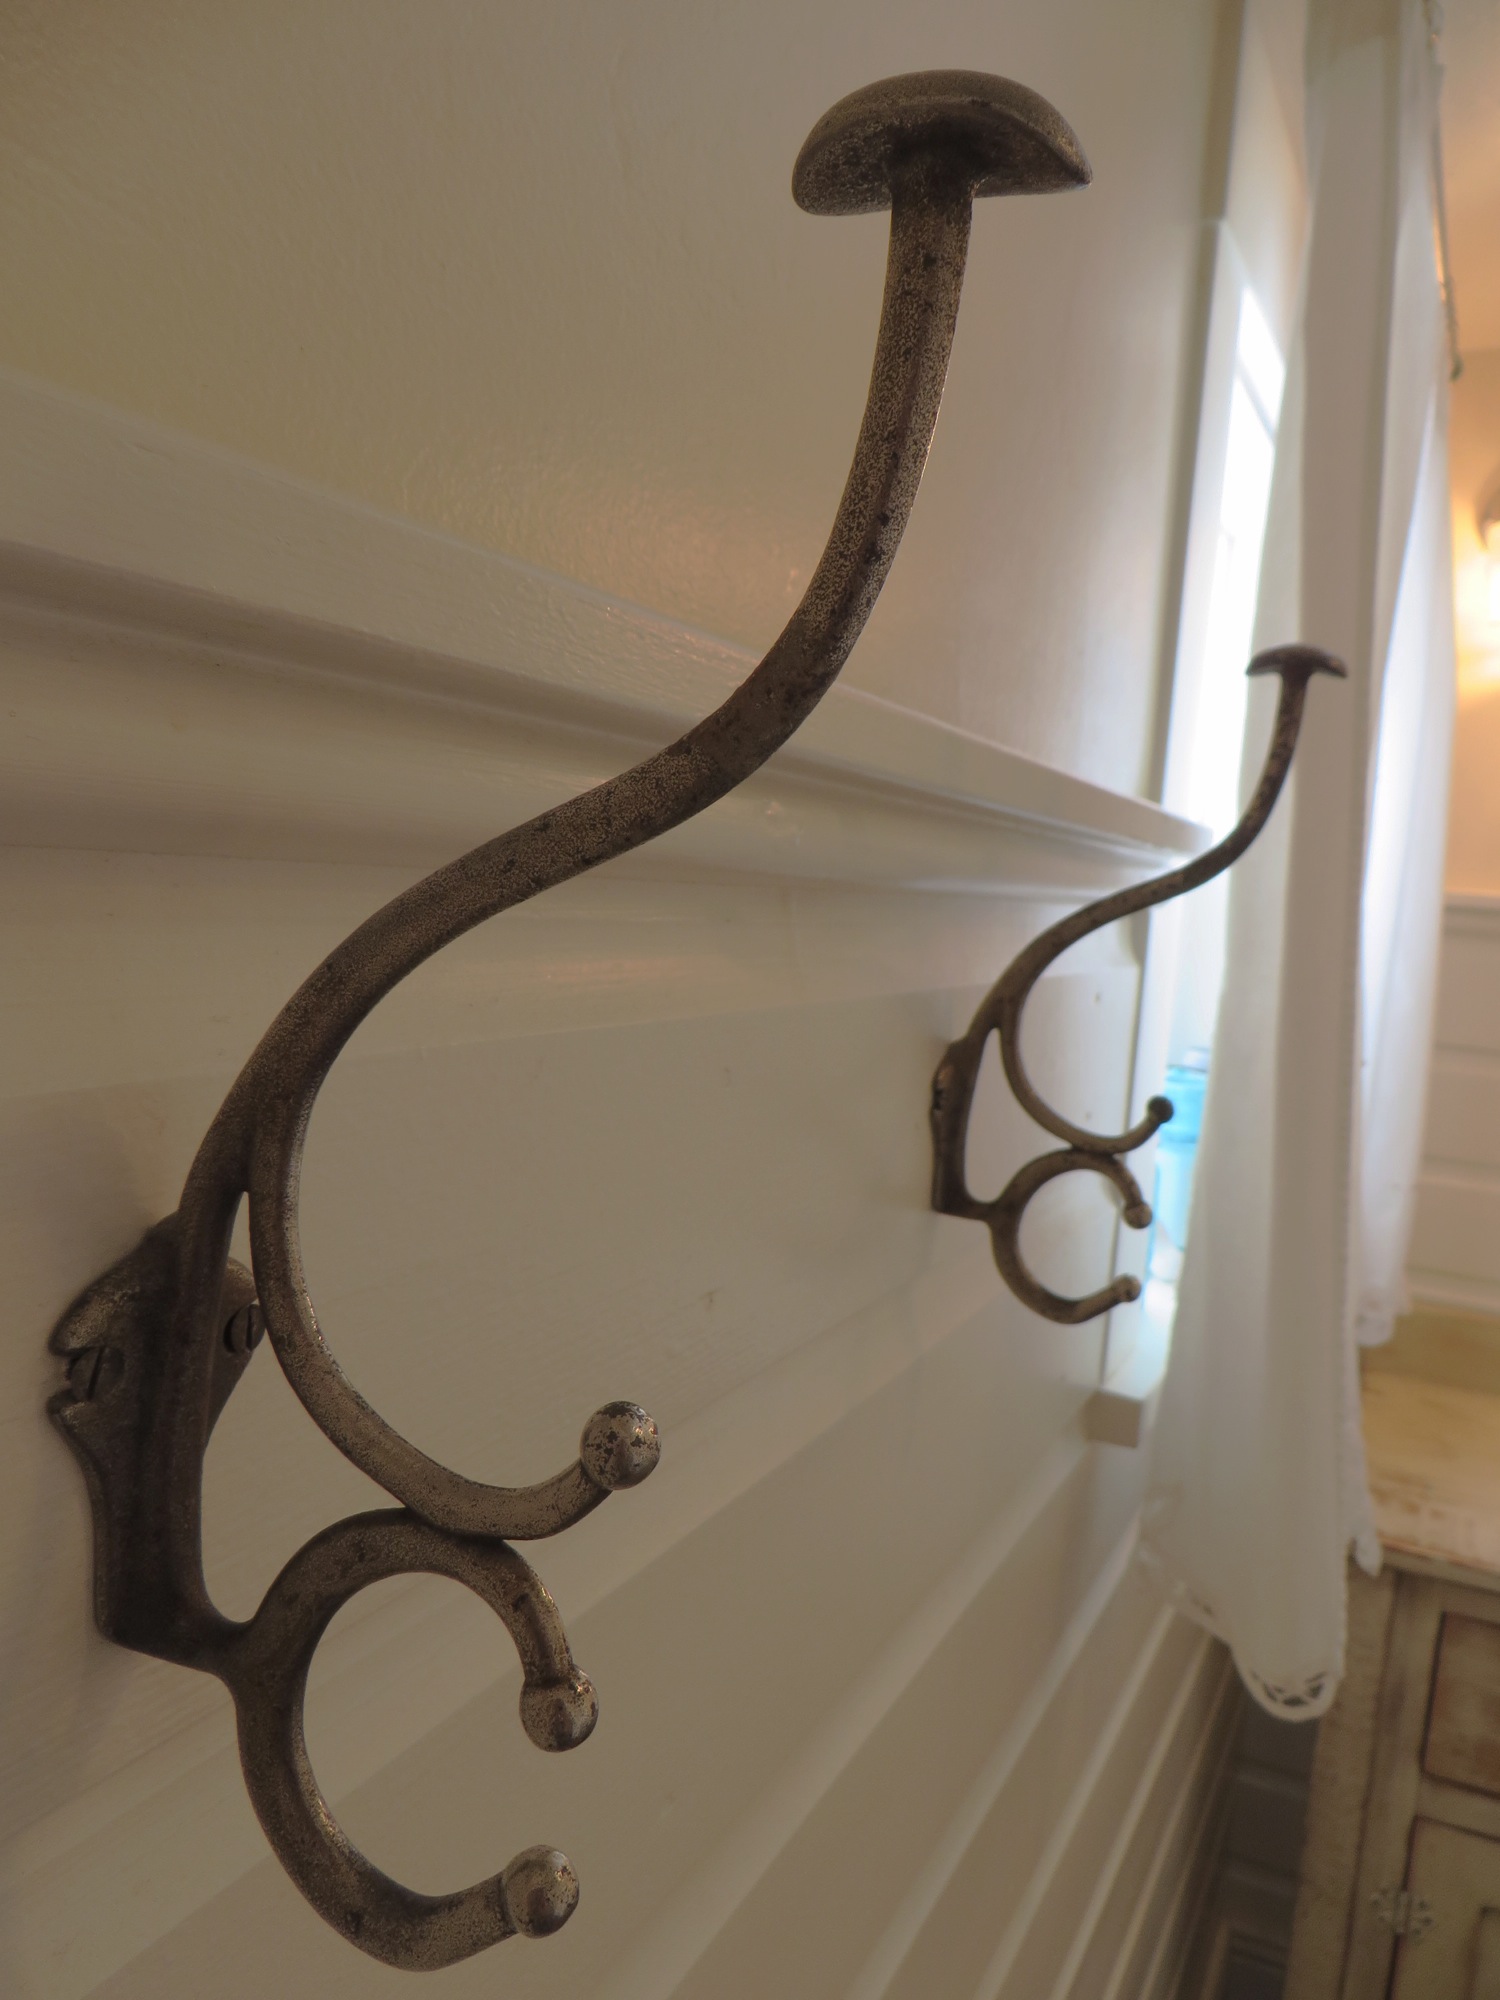
Vintage hooks
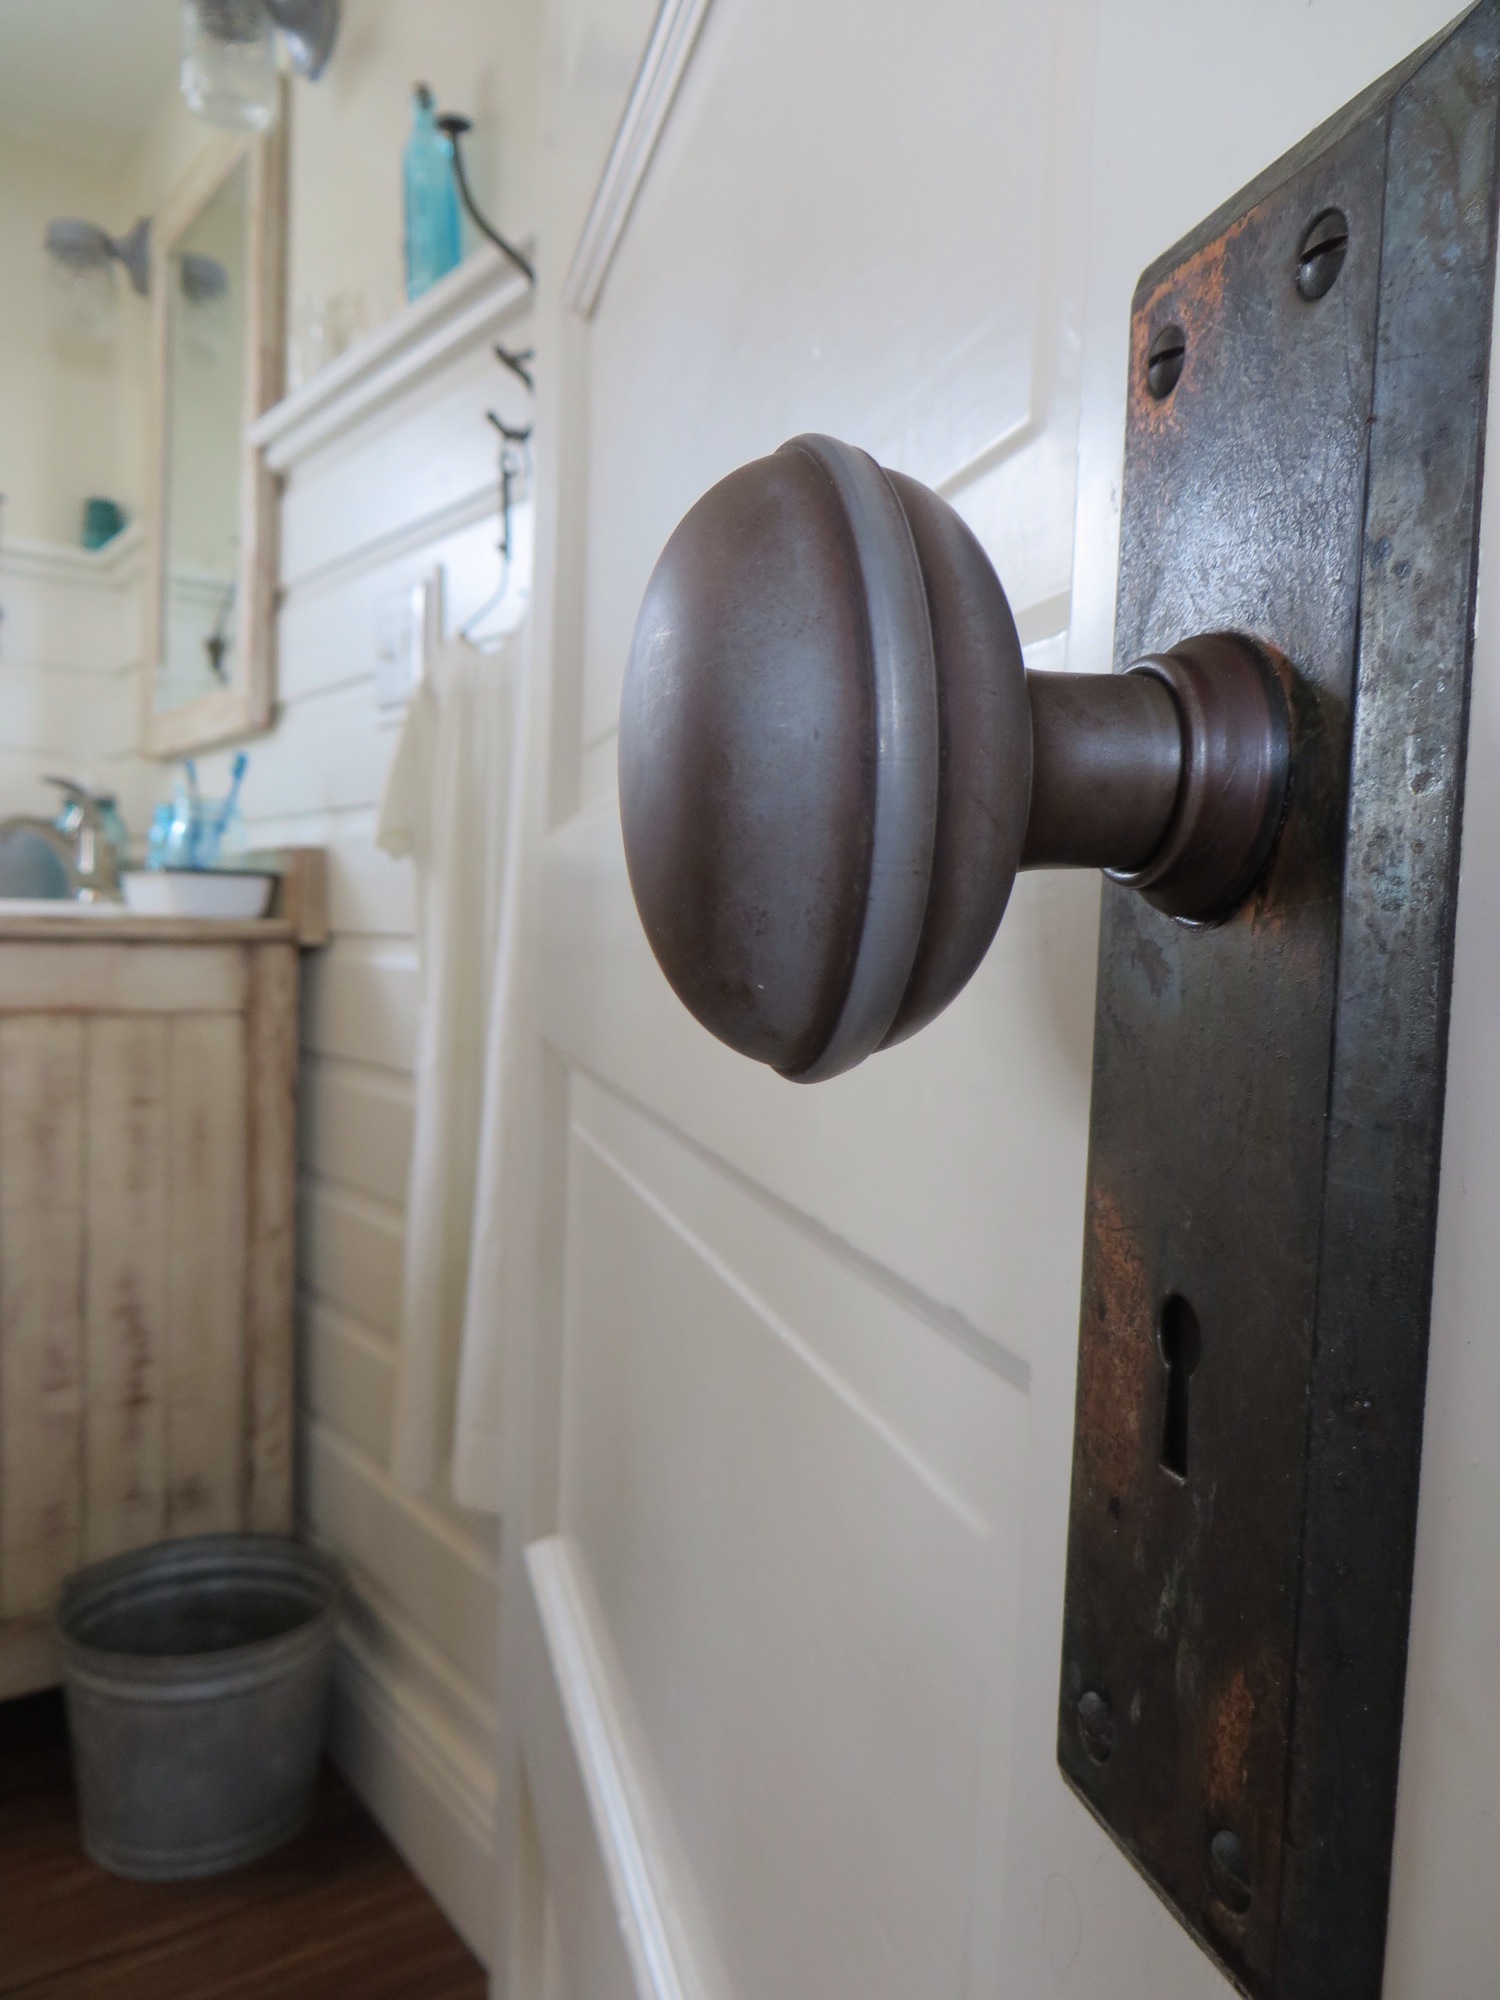
Installed old 5 panel doors with old hardware in place of ugly hollow core doors

Rug shows color scheme with greens, browns, & blues
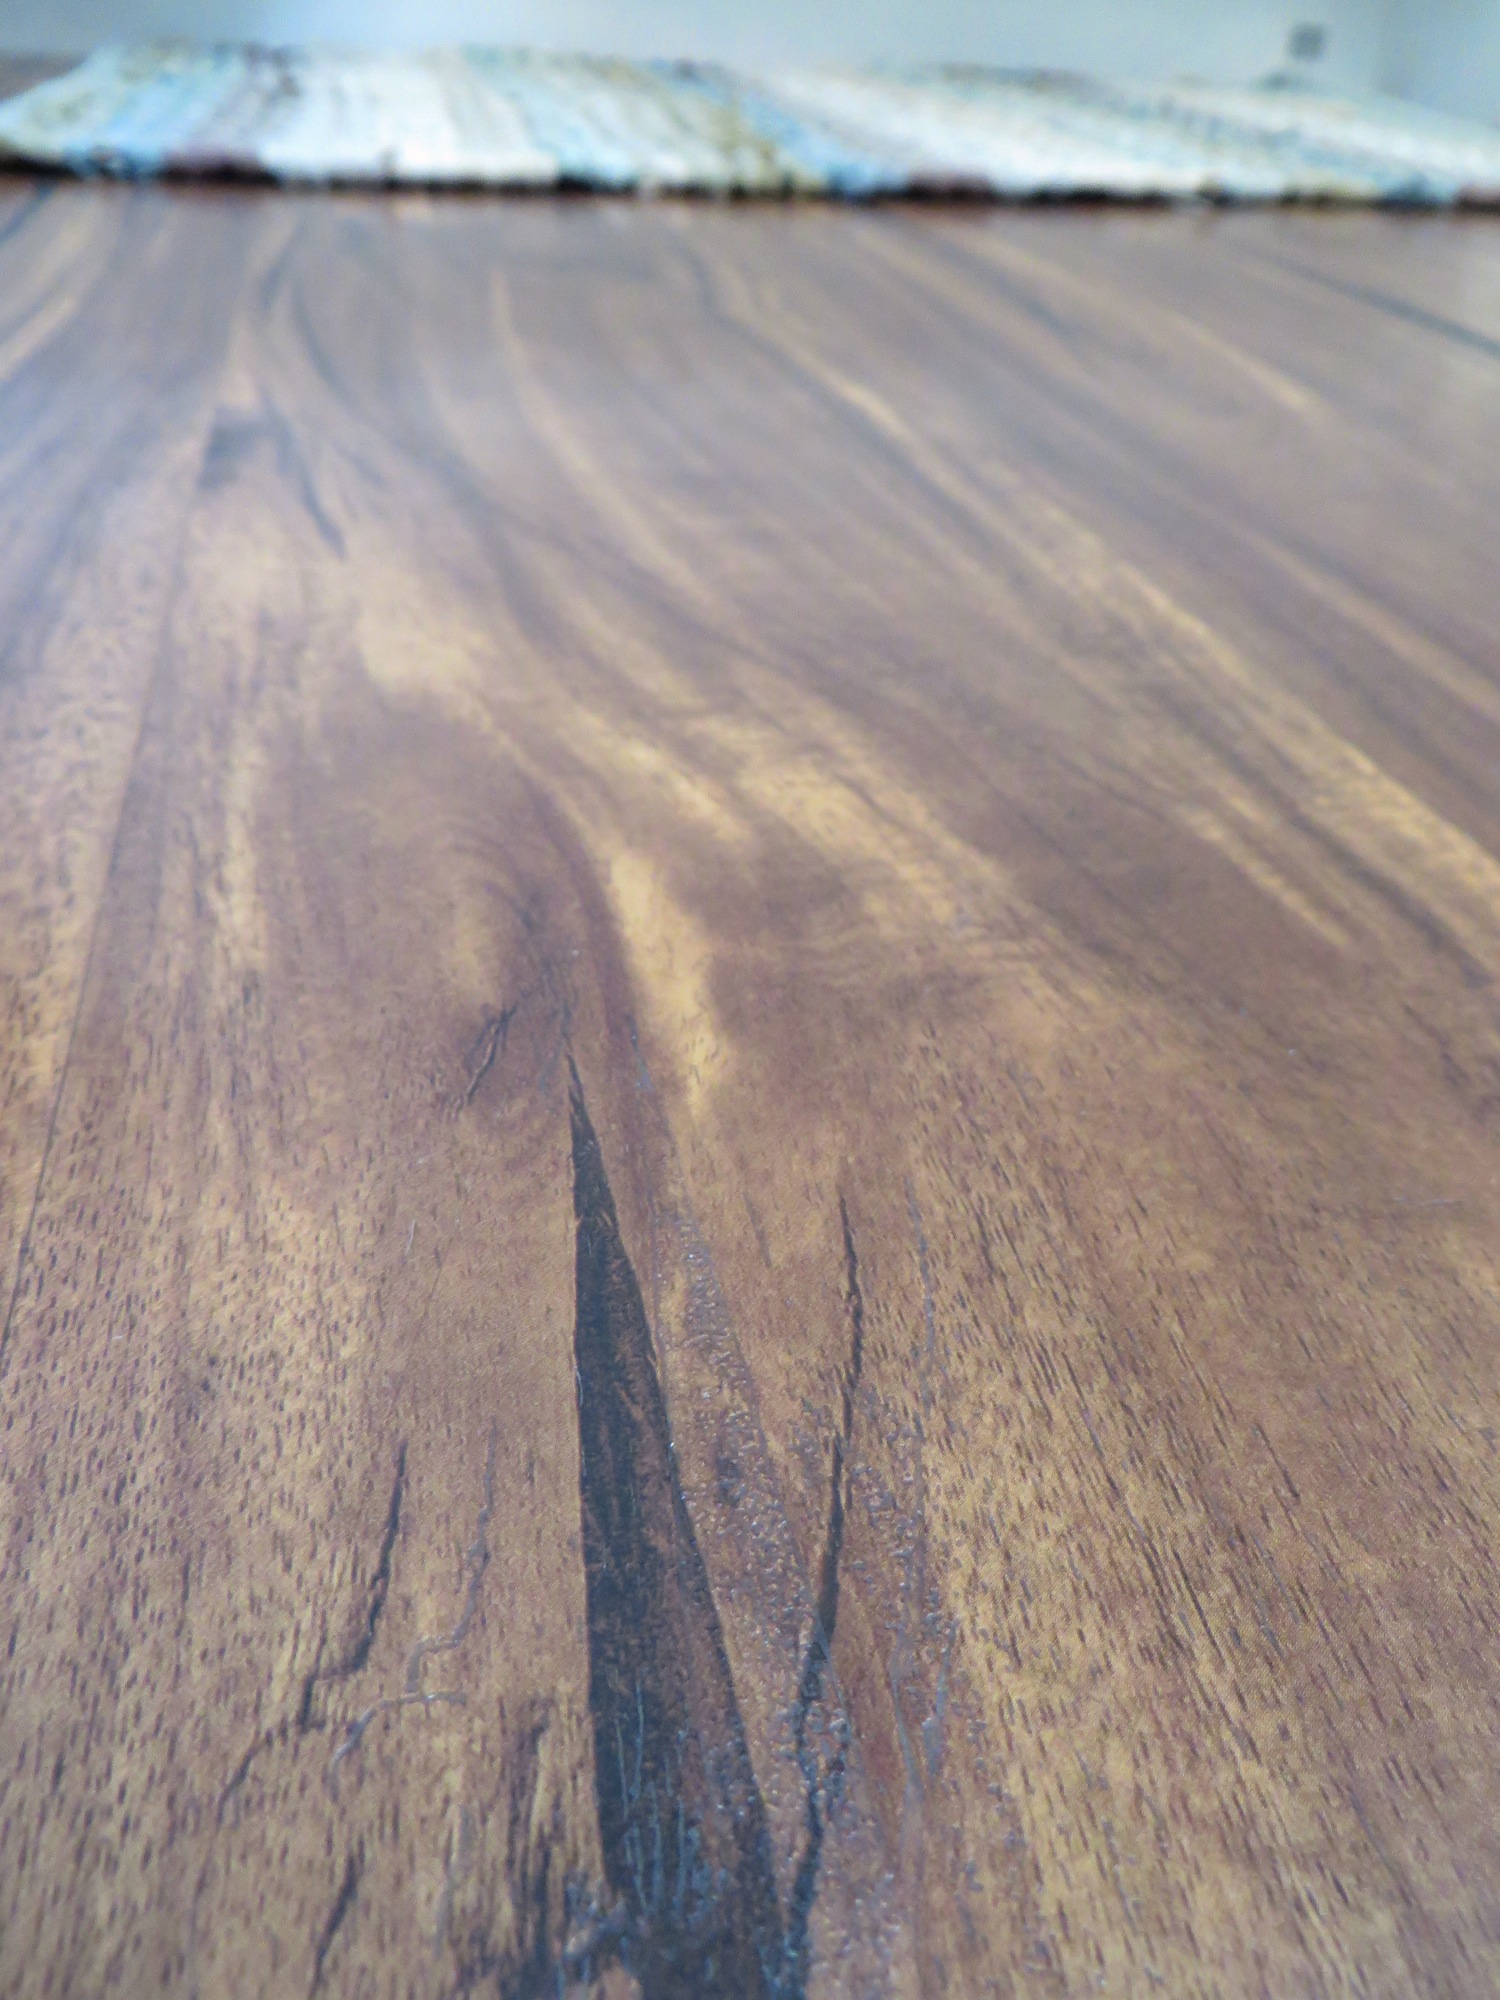
Vinyl plank flooring in a dark walnut colored finish

Vintage decor
I painted black outdoor porch fixtures with a hammered finish silver paint to mimic a galvanized finish.

We are very pleased with the finished product. The neutral colors are pleasing, we enjoy the antique and vintage decor as well as the colors of the blue glass to brighten the room.
What do you think?